Showing posts with label deer. Show all posts

Sunday, June 19, 2016

Baby Deer Card Printables


Oh my gosh, it has been super hot around here!   All ready!  It's not even quite summer yet.  I'm just a wimp about heat - I think I could live in the Arctic!  Well, I've certainly been staying inside, whipping up a few creative things.  I've got a couple of baby cards today.  


First up is this fun shaker card.  I decided I needed to actually use a couple of stamp sets that I've had for awhile, but hadn't even opened.  


Instead of just sequins, I've got some prills in there - they look like little tiny beads.  Very cute and they make a lot of fun noise when the card is shook.


This Deer So Sweet is a printable.  I took an old card and cleaned it up and added pink or mint watercolor stripes behind the deer and for the back of the card.  You can download both colors below.  


Isn't that deer just adorable?   The printables include a couple of bonus sentiments, too!

I made this card because I needed a thank you card.  Now, WHY you may ask?  Why would I need a thank you for a baby gift?

NEWSFLASH:  I'm going to be a grandma in late October or early November!!  A grandma to a little girl!  Exciting, right???

Okay, back to the deer printables.  


I designed the cards to have a white frame around the vintage image.  These are some cutting tips to make that really easy to accomplish.  

Just cut right along the sides using the watercolor stripes as the guide.

Score above the vintage image to make the fold - leave about the same white space above as  on the sides.

Cut the bottom about the same distance from the vintage image, as well.


You can download the pink version HERE and the mint version HERE.  When the image comes up, wait just a second and the download button will appear in the top right corner.

Do you need to stay out of the heat, too?  Maybe you need to make a quick, cute baby card or two?

Have a wonderful week - see you again soon!


Tuesday, November 3, 2015

Watercoloring with Cut Out + Keep


This is one of my projects for Technique Tuesday at Cut Out + Keep.  I'm showing how easy it can be to watercolor a stamped image.  Love this cute little deer from Lawn Fawn!   If you want to see step-by-step including the grass, you can watch the video:


I'll show how to make this gusseted flap bag in my next post.  

Hope you had a fun Halloween!  Did you have many trick or treaters?  We didn't have very many this year.  It's amazing how many we used to have when Lauren was little.  One of us would take Lauren around and one of us would stay home to give out candy.  Oh, what sweet memories!  


Friday, June 6, 2014

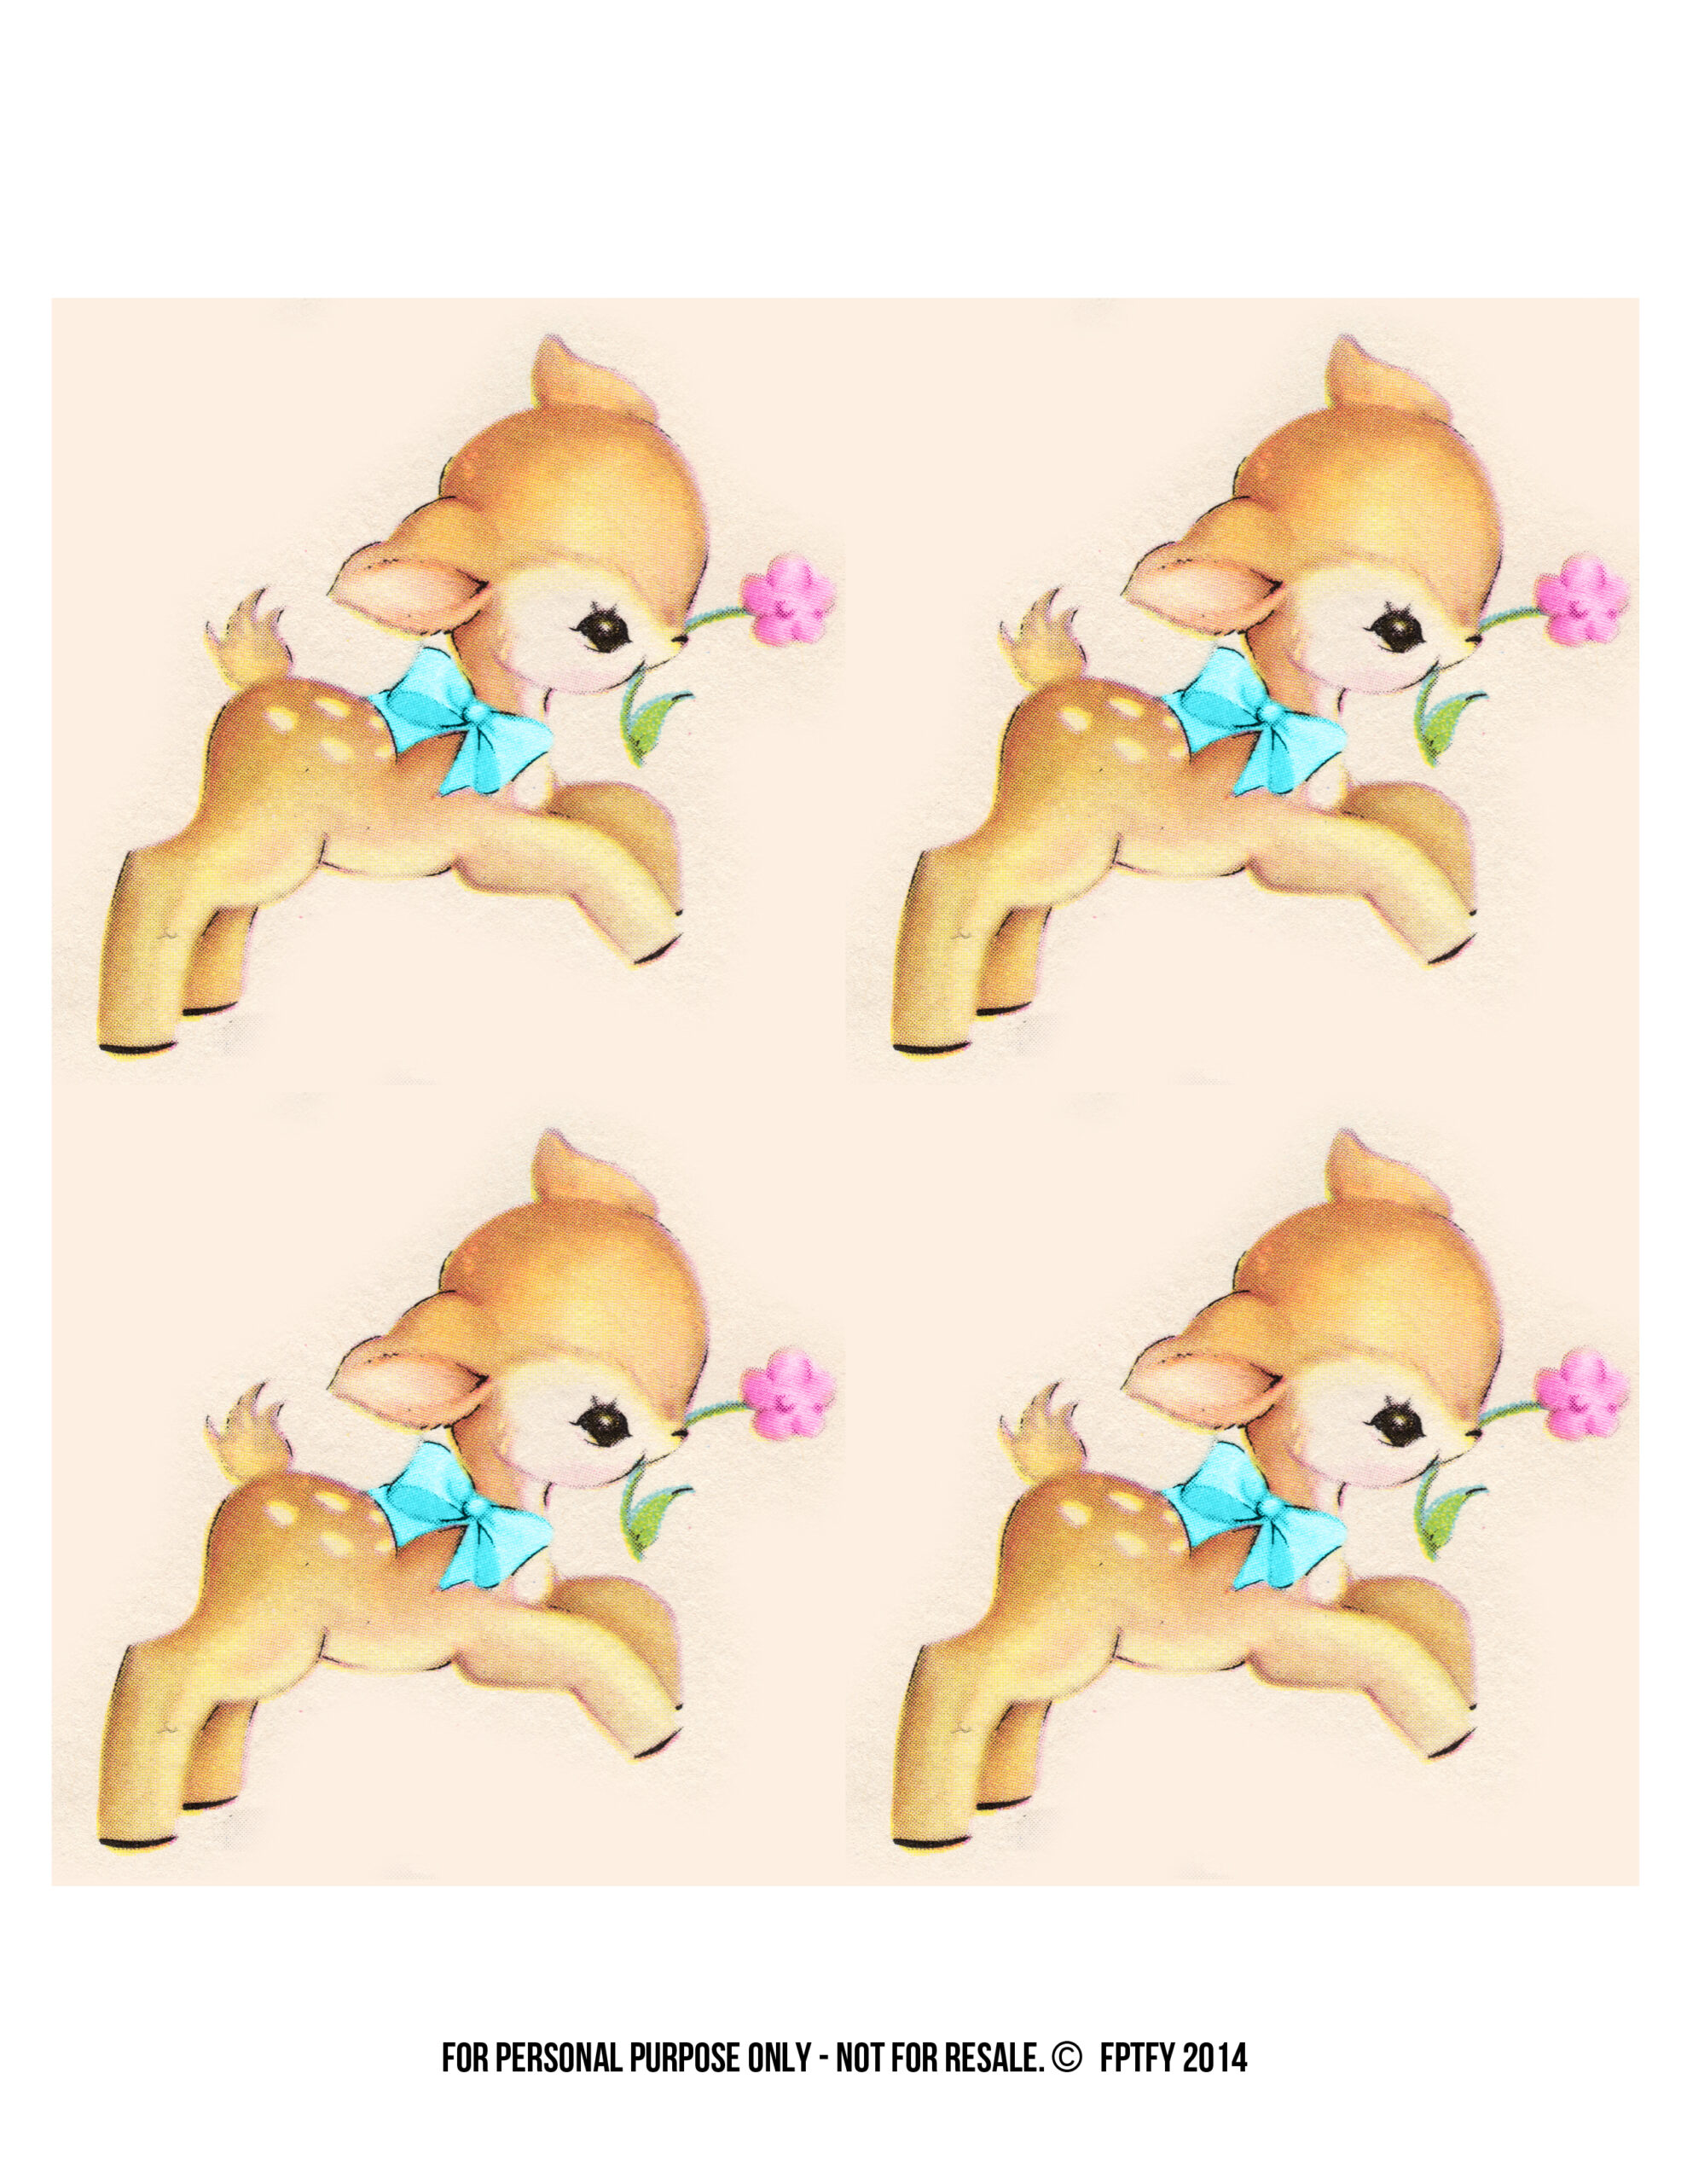
Baby Deer Ensemble w/ FPTFY + Free Image

When Keren (Free Pretty Things for You) sent me the new Baby Deer image, I couldn't wait to get started on something cute.  I may have even squealed a little bit, too!


I'm sure you see why!  First I made a card...


and then a sweet felt book and then the next thing I knew I was sewing up baby booties! 
 And I don't even have a baby to give them to!  (Oh, wait...maybe I do...my friend, Kirby, just became a grandpa of a little baby girl named Harper - she just might need this sweet ensemble.)  Below, I've got instructions on how to make the little felt book, links and tips for the baby booties, and a link to the free Baby Deer image.


I chose to make my set for a girl, but it would certainly work for a boy as well.


This felt book is so sweet and really easy to make.  I think it is perfect for small pictures and journaling notes.  (I printed the deer on canvas - it has a nice fabric feel.)  Here's how to make a little bound felt book.


Cut your felt. The finished size of my book is about 3 3/8 x 3 1/2".   For this size book, cut the cover felt to 3 1/2" x 6 3/4" and the inside pages to 3 1/4 x 5 1/2".  I cut two pink strips for a total of 8 pages.  I think it could easily hold one more strip for a total of 12 pages.


When you fold all the pieces in half, you might need to do a tiny bit of trimming to get it all evened out.  Then I clamped mine together so everything stayed in place.   Use a ruler to make tiny dots (I used an erasable fabric pencil) every 1/2".  Sew a running stitch forward.  I used all six strands of embroidery floss.  If you want a 'tail' like mine, leave about 4 inches to work with.  You can see it at the top of the second photo.

When you get to the top, you will go around the top of the book and come back up through the back.  As you come back down with the running stitch also stitch the sides going around the spine of the book.  Keep the embroidery floss pulled taught.  At the bottom, you will tie the two pieces of embroidery floss together.

That's a picture of Lauren on the day she was born!  I sewed on the button embellishment - not going all the way through the felt - didn't want the knot to show on the back.  I used just a tiny bit of glue behind the photo and slipped it under the felt button.  The same thing would work for journaling spots.  The button dies are from Papertrey Ink


For the baby booties, I used Papertrey Ink's new Baby Booties dies.  They worked really well and were really pretty easy to put together.  A couple of tips:  You want to be sure that you can see all the sewing holes, so be sure to take time to get all the little holes open.  Also, I found it much easier to leave the holes on the very bottom of the back pieces open and sew them when I sewed on the bottom of the bootie.  Papertrey Ink has great videos showing how to make the booties.


I made a box with a clear lid for the book and booties.


To download the free baby deer image with the blue bow, click HERE.  Be sure to visit Free Pretty Things for You to download the free baby deer image with the pink bow.  While you're there, check out all the other adorable free images!

Happy Friday and Happy Weekend, too!

Related Posts with Thumbnails