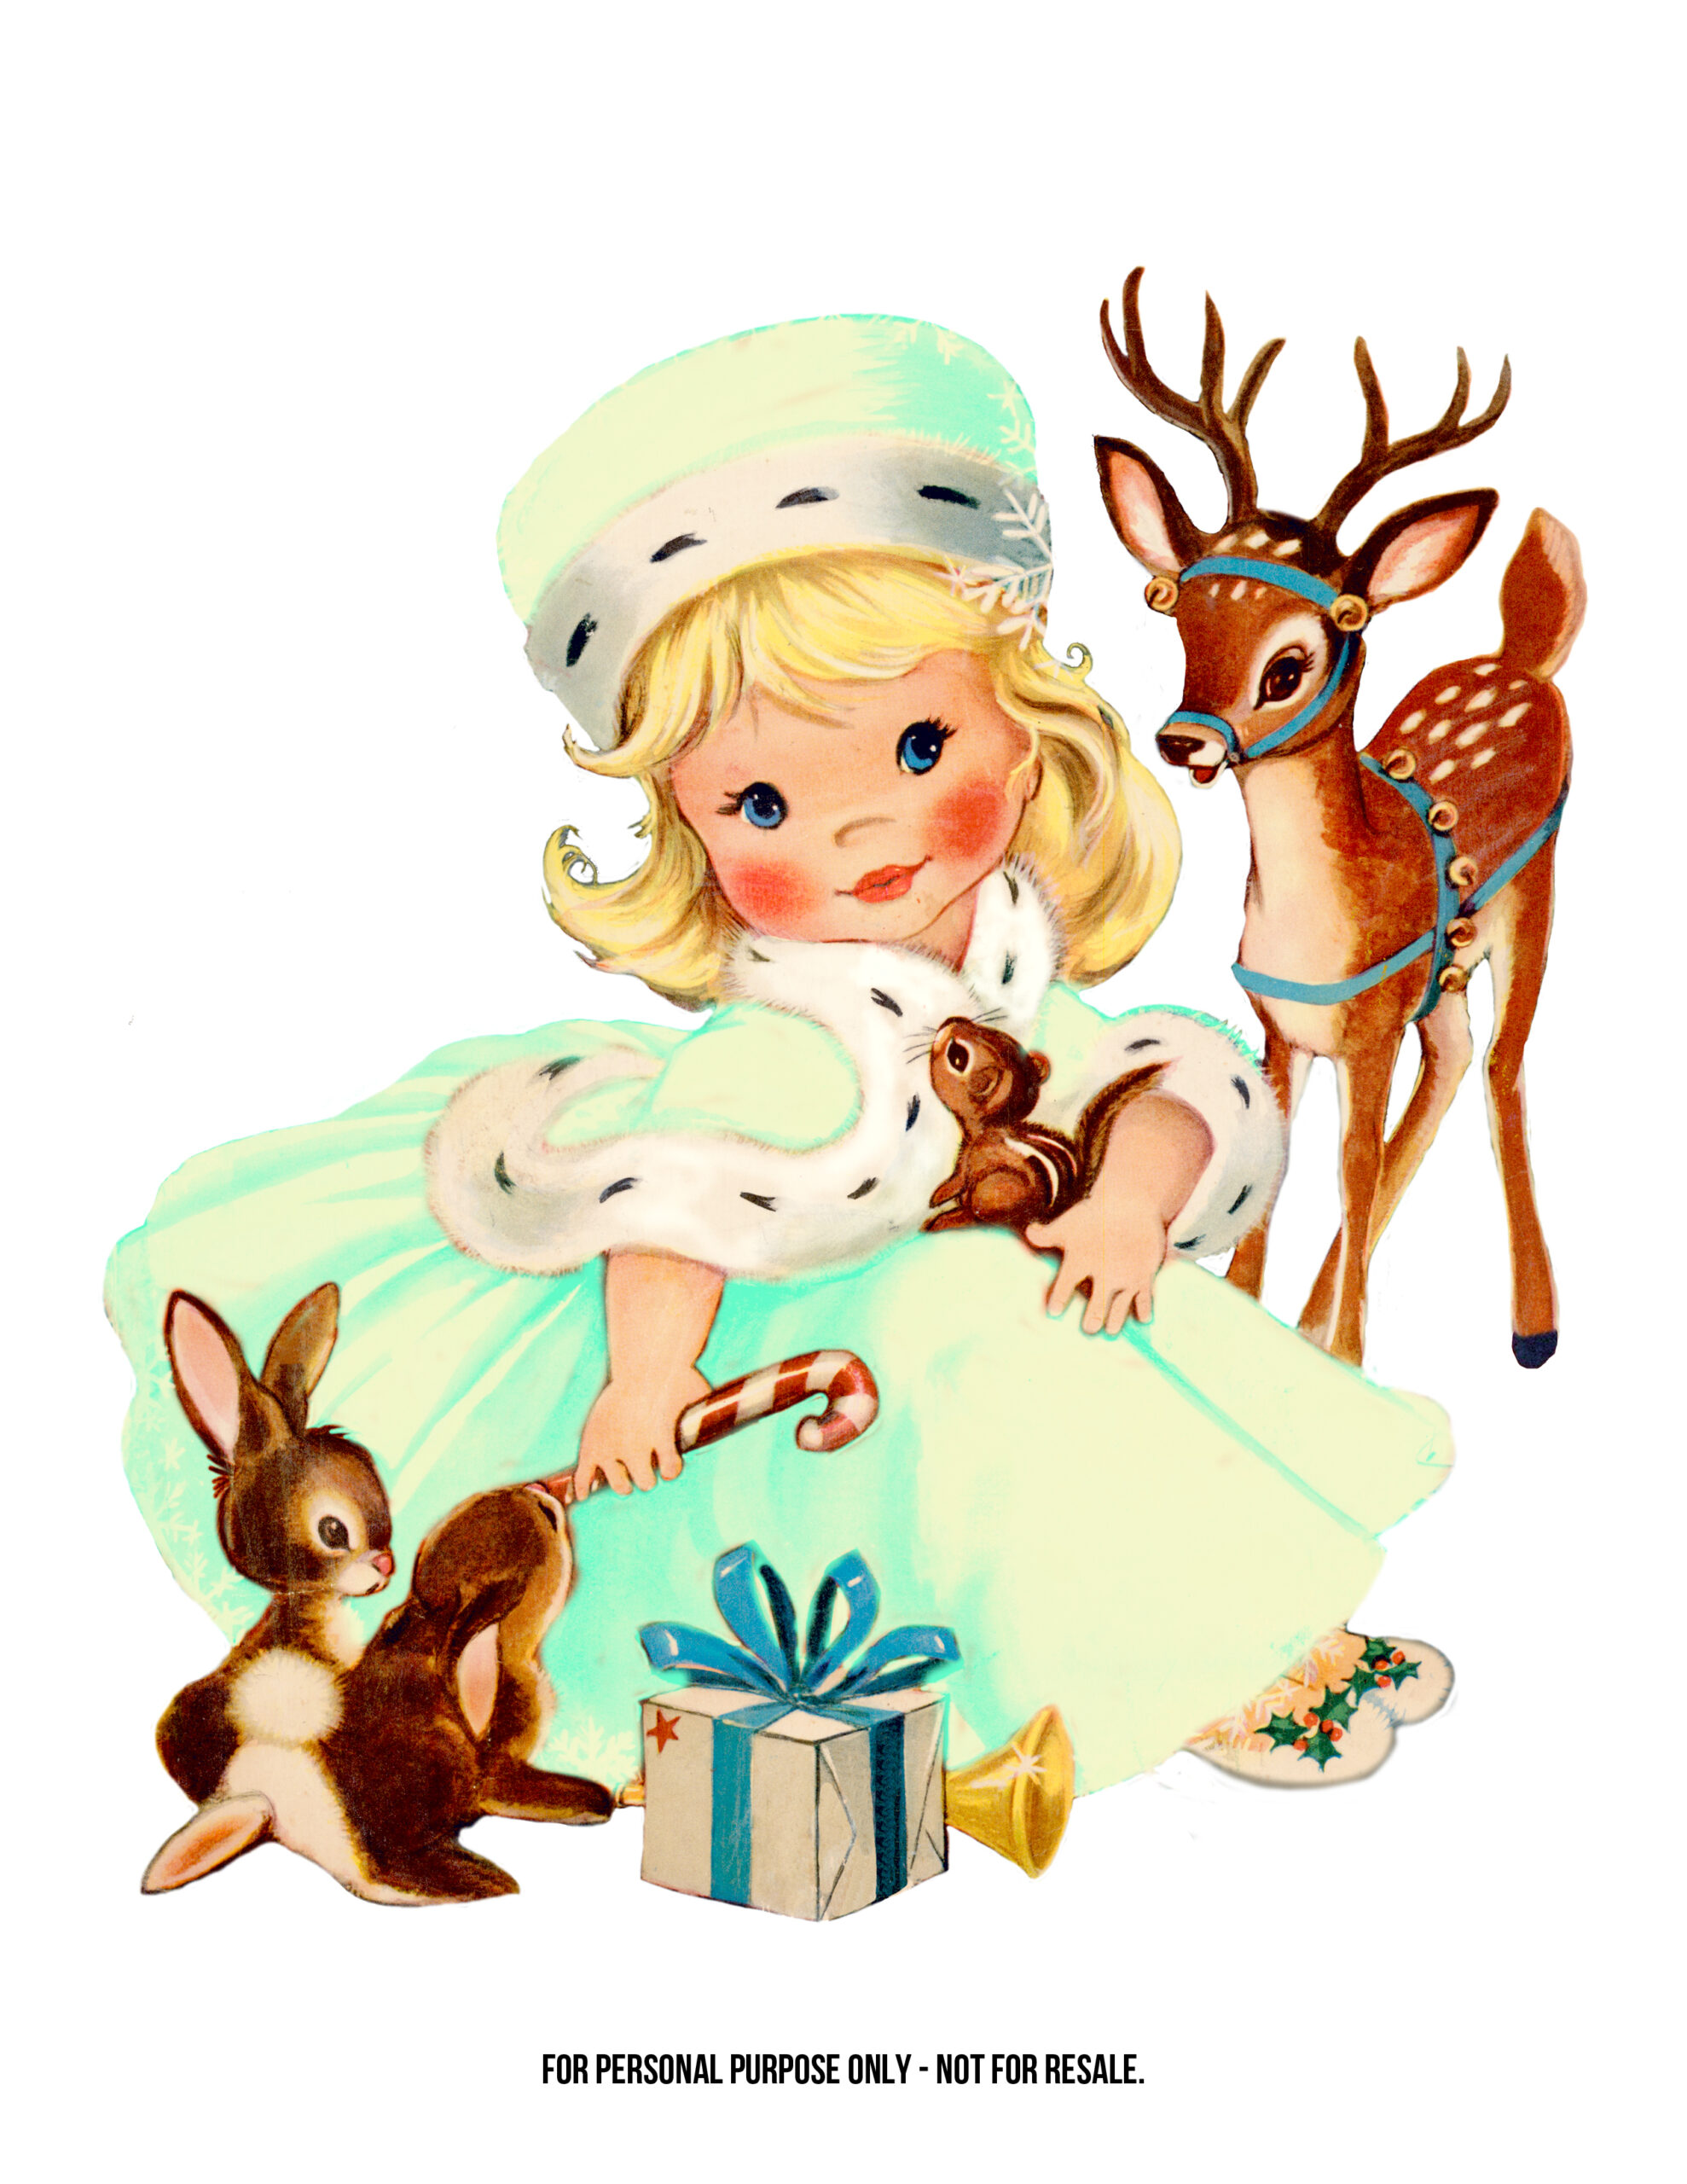
You probably all know by now that Dennis and I (and Lauren when we visit her in Wichita) prowl the antique stores. I found a darling HUGE vintage Christmas coloring book with Little Miss Christmas on the cover. I sent her to Keren at Free Pretty Things for You and Keren worked her magic! Now we've got three different Little Miss Christmas images. Her dress was originally red and Keren also made her available in white and purple. You can find a link below to download all three.

I love the white/blue version and I wanted to put her on a little something other than a card. So, I designed this fun little house just for Little Miss Christmas and her sweet animal friends.
Would you like to make your own little Christmas house gift box? Here's how:

Now you're ready to score. On the 7" side, score at 2" and 5" from the left side.

On the 9" side, make 4 scores. Score at 1", 3", 6" and 8".


Cut off the corners and slit the remaining four corners on the long side to the score line.


Making the roof peak is next. I find it easier to use a ruler and scissors rather than a paper cutter. The center portion on the top will become the peak of the roof. It measures 3". Make a dot in the middle at 1 1/2" and draw diagonal lines to the corners where the scores intersect. Cut away excess to make the peak.

You will also need a back for your house. Cut a piece of paper 3" x 7". Don't forget to score it 2" from the bottom. You will make a peak just like the other.

Fold and glue the bottom flaps of the front of the house. The back of the house will wrap around the bottom and be glued to the side tabs.

Now you are ready to punch the holes and tie a ribbon to make the closed top of the roof. It really doesn't take very long at all to make.

You can decorate with something cute - Little Miss Christmas, perhaps?

Download the white/blue Little Miss Christmas HERE. Visit Free Pretty Things for You to download the magenta version. Tomorrow I'll have the link for the red version.

We can't have Christmas in July without a present. One lucky reader will win the following by random selection:

There's a cute fox stamp and a set of sentiment stamps. Also some Stampin' Up goodies: Banner Blast stamps, Banner Blast punch, 2 Border embossing folders, and a set of Stampin' Write markers. I will also include a KIT for the Little Miss Christmas House. It will come with everything you need except for adhesives.
It's easy to win. Just leave me a comment letting me know that you would like to receive my Christmas present. AND come back Tuesday and Wednesday and comment on those posts, too! In other words, comment on all three Christmas in July posts.
I will announce the winner on Saturday, July 19th. Please comment on all three posts before 11:59 p.m. on Friday. Come back on Saturday to see who won. Especially check back if you don't have a blog and your email address is not on your profile. It makes it a little hard to find you!

Check out my new Choux Box Kits Club on the page tab at the top of my blog.
Merry Christmas (in July)! See you tomorrow...