Sunday, August 26, 2018

Paper Sweeties 6th Birthday!


Hi!  Paper Sweeties is 6!  Thank you, Debbie, for asking me to join your celebration.  I had so much fun creating my projects!  (Check out the video below for the mini cupcake cards.)


To celebrate being six, Paper Sweeties has a Challenge contest running through 11:59 pm EST on August 31st. The lucky winner will receive a $100 shopping spree at Paper Sweeties! Gallery viewers will vote by 'liking' their favorite projects and choosing the winner.  To link up your new celebration/birthday inspired projects, click here: Paper Sweeties.  The winner will be announced September 1st.


Paper Sweeties even has an inspiration photo for you:


Pretty color combination!


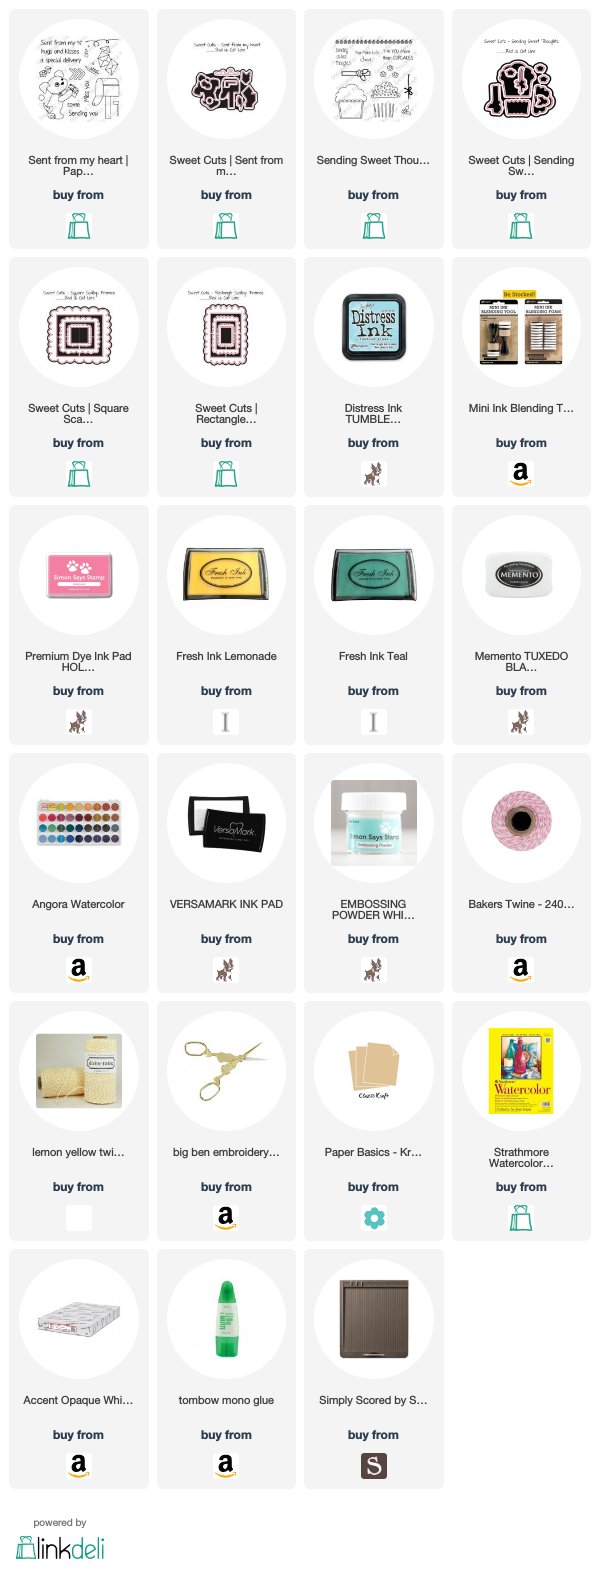
My first project is this sweetie pie dog - isn't he cute?  I love the little heart shape at his tail!


He's simply colored - just one copic (except for his cheeks).  I randomly added colored areas to get that spotted look.  I also really love the slightly wonky scallop frame - one of my new favorites!


You can see I made use of the rectangle (slightly wonky) scallop frame for these mini cupcake cards - aren't they sweet?  The watercolor is so simple and I'm really liking the monochromatic theme.  At first, I wasn't sure that there was enough contrast between the cupcakes and the background, but then I felt like they were so soft and pretty.

Here's the video on the mini watercolor cupcake cards:


Don't forget to link up for a chance on that $100 shopping spree at Paper Sweeties!  So glad you stopped by to celebrate Paper Sweeties turning six!


Sunday, August 19, 2018

Inlaid Die Cut Window Cards + Video


How's the end of your summer?  The kids here have all gone back to school, but the weather is still in the high 80s and 90s.  I'm ready for fall - probably because I'm already making Halloween goodies! 

I've got a new video on how to make these inlaid die cut window cards.  Basically, just adding back a piece of the die cut into the window.  They are pretty easy, but I've got a tip or two to make them even easier.


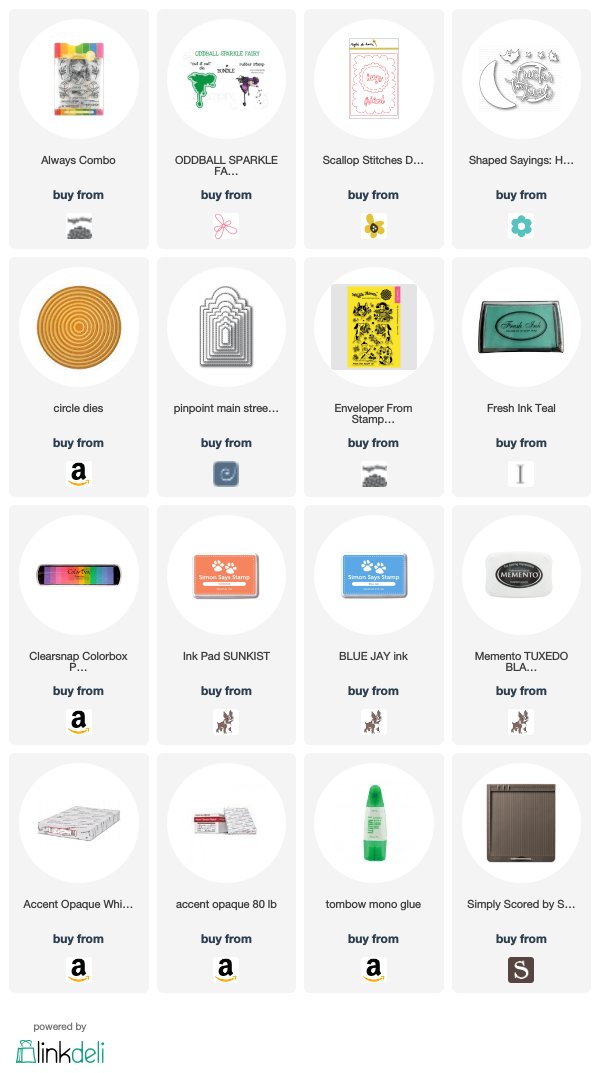
I love this stamp!  Isn't she just adorable?  


I had so much fun coloring her hair - not only pink, but polka dot too!  I"m not sure what brought that on.  Her face looks yellow in this pic, but seriously - it's not!


This window has been enhanced with orange paint dots.


Love this (oddball) girl, too!  She has wonderfully curly hair and you gotta love those eyes and batwings!

Here's the video:


Have you made any Halloween goodies yet?  I know a lot of you have been making Christmas things throughout the year - wish I had been!


Sunday, August 5, 2018

Fun Fold Open Flip Card + Video


Hi!  Hope your last couple of weeks has been as fun as mine!  Louisa was here again for another 4 days - how cool is that?  Two weeks in a row!  The house seems super quiet without her.  

Let's keep the fun going with this fun fold card I'm calling an Open Flip Card.  I love how it works and I've made a video with tips to make it super easy for you to do.

It wasn't easy at first (it took me awhile to figure out how to do it).  I just had an idea and it took me a week of looking and thinking and trying to get it right.   And don't tell me if somebody else has done this - I don't want my "I did it" bubble to burst!


So this is the second "stage" of the card.  The front is opened and flipped back on itself to reveal another image.  Cool, right?  Well, the fun doesn't stop there...


Third "stage":  Open it up again and you can see the full spread.  What do you think?

The stamps are from Stampin' Up called Magical Day.  I got them last year and I just found out they are no longer available.  Might be some on Ebay...

Here's the video, in case you want to make one, too!


These are the copics used for this card.


It was super hot when Louisa was here.  My mom and dad suggested the perfect indoor activity.  Throwing pennies in the fountain at North Park Mall.  Who knew throwing pennies could be so much fun?

Go have some fun yourself and maybe make a Fun Fold Open Flip card while you're at it!

Sunday, July 22, 2018

Watermelon Treat Bags and Cards + Printable and Video


Boy, is it hot!  The humidity has been so high  - it's miserable.  Oh well, after all it is summer.  One good thing that summer brings is watermelon.  Why not make a watermelon treat bag and card or two?


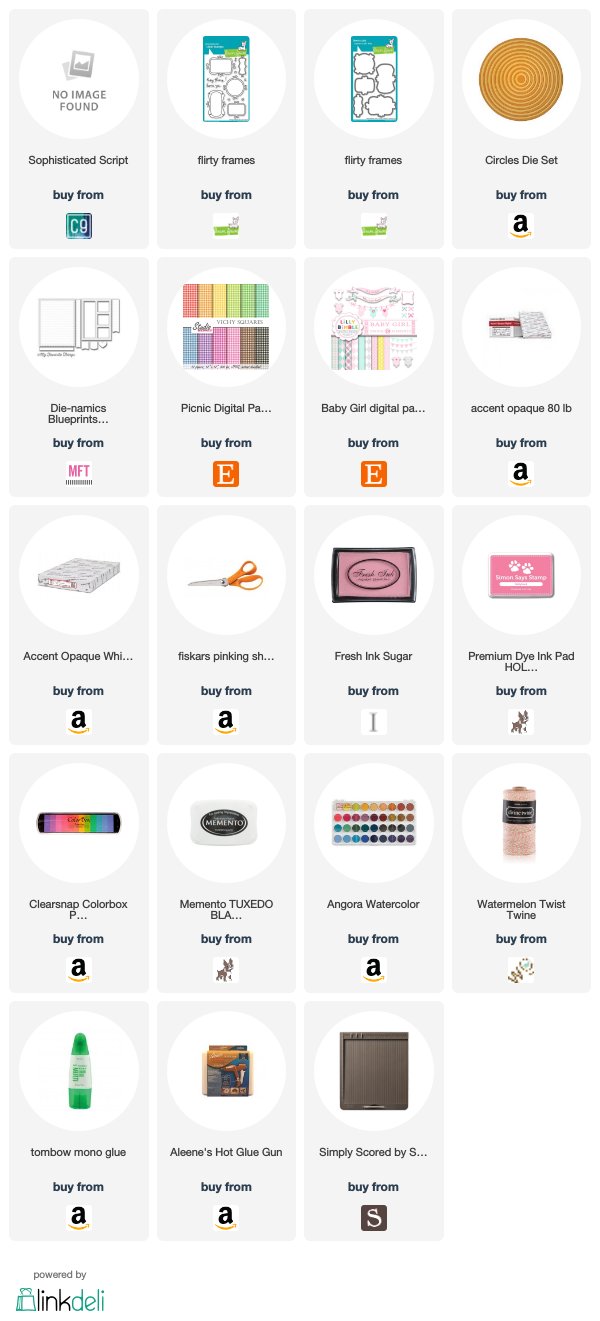
This watermelon treat bag is made with circle dies.  Super easy!

You can find the sentiment and watermelon seeds as a printable below.


The card is made basically the same way.  Love that it's the shape of watermelon.

Check out the video to see just how easy the bag and card are to make:


The video also shows how to make this printable gusseted watermelon treat bag.  Just print, cut, score and glue.  So cute and easy peasy.


I couldn't stop with just three watermelon projects.  I had to make this card, too!  I"ve had a lot of fun with these capital and lower case script stamp sets.  I flicked some pink and green watercolor on it after I finished stamping it.  I was afraid that it would make the words bleed, but I lucked out!


Download the Watermelon Treat Bag HERE.


Download the Watermelon Sentiments and Seeds HERE.


Louisa's new favorite summertime activity:  watering flowers (the bricks and herself) with Grandpa.  

So glad you stopped by...

Monday, July 9, 2018

Pretty Butterfly


Louisa will be coming back with me again this week.  I'm so excited!  Also, a tiny bit nervous, because Dennis has always flown with us and this time it will just be me and Louisa.  I'll be there for 3 days and then she'll stay here for 4 days.  That will be a wonderful stretch of time to be with her.  

This card had to be finished before I leave, as it's a special request card.  I dug out my butterfly dies (which I love) and some older Stampin' Up stamps.  It's fun to bring out some older goodies every once in a while.


I always love a multilayered butterfly.  This one has a pink butterfly, white and a vellum one topped with a blue butterfly, sequins and pink gingham ribbon.  


I tell you, the gold ink is so hard to photograph,  It's actually quite shiny, not flat.  Equally frustrating to photograph is the pretty gold watercolor that I flicked on it.  This photograph is the best I could get to show what the ink and watercolor actually looks like.

So glad you stopped by!  Have a wonderful rest of your week!


Sunday, July 1, 2018

Four Square Reveal Card + Video


Another tea related project here!   It's 100 degree weather (or feels like it with the humidity), but I still drink hot tea.  Love drinking a cup of tea when I get home, so it makes sense to want to share the love of tea!

I couldn't decide what to call this type of card.  So I went with the obvious "Four Square" and then the not-so-obvious "Reveal."  


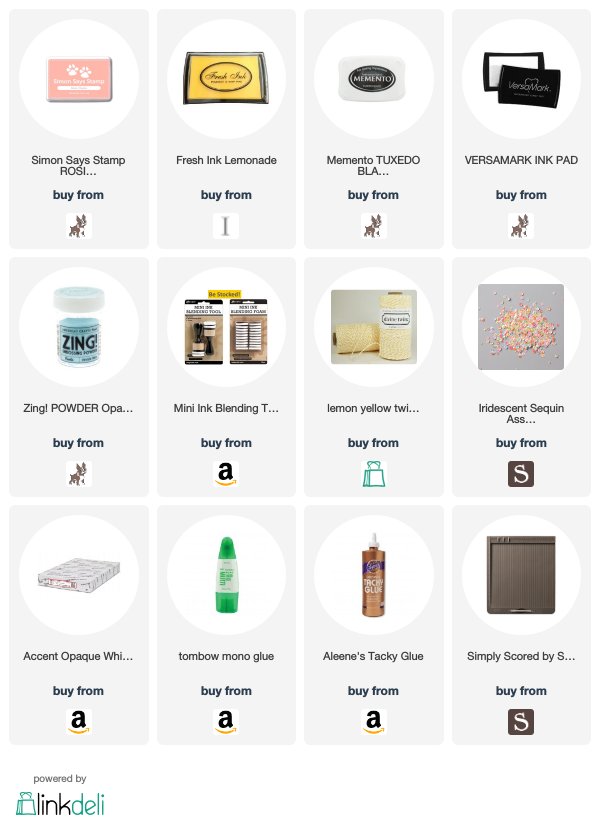
So here's the first part of the reveal.  A little glassine bag with Irish Breakfast Tea.  I created the brew instructions on the computer and printed it on sticker paper.  The little tea bag and heart are stamped.


The second part of the reveal is this darling girl and teacup.  I created the "Beau-TEA-ful" sentiment on the computer.

It's super easy to create a Four Square Reveal Card.  In the video, I've got a couple of tips to make it even easier.  Check it out...


Try out a Four Square Reveal card for a birthday or something you want to share!


Sunday, June 17, 2018

Tealightful Day Double Diagonal Pocket


I just want to drink tea and make things. I saw that saying awhile back and thought "yeah, that fit's me pretty well."  Of course to those two passions, I'd have to add reading and Louisa!  

I love to read and drink tea - that's my favorite meditation.  I often read while I eat, too.  

Louisa will insistently say "book" while she's eating.  I give her a board book that can easily be wiped off.  She's still a little messy.  But, she's starting out right!  At breakfast, she'll point to our tea and say "Tea hot!"


I made a double diagonal pocket to feature these adorable stamps and to hold two of my favorite teas.

I'm totally into the storybook look of this teacup.  


I had so much fun coloring and putting this together.  The tea pocket with the sun has Irish Breakfast Tea.  It's strong and wonderful and gets you going in the morning.  The pocket with the moon has Extra Sleepy Time Herbal Tea, which is perfect at night.  A perfect little thinking of you gift.

The pockets:  diagonal double pocket and the little pockets for the tea bags are super easy to make.  I've got a video on how to fold them and I also give a couple of tips on the Tealightful Day stamps.  Here's the video:


Have a tealightful day!


Related Posts with Thumbnails