Saturday, December 2, 2017

Visions of Sugar Plums 2017 Day One


Welcome to Visions of Sugarplums!  Can you believe this is the 7th year?  I've had the best time hosting this Christmas blog event.  

So glad you've stopped by.  Visions of Sugarplums is a collection of bloggers sharing Christmas Ideas and of course, we have giveaways and a challenge, too!  More on all that later...

We hope you'll join us all three days.  Today I've got a few packaging ideas - easy and fun!


My house smells so good!  I just got through baking sugar cookies and gingerbread men.  I couldn't resist licking the beaters.  Do you do that too?  Has to be my favorite part!

I think the gingerbread men would make a sweet tasting gift for Christmas.  I love gable boxes, but my gable box die was way too small.   

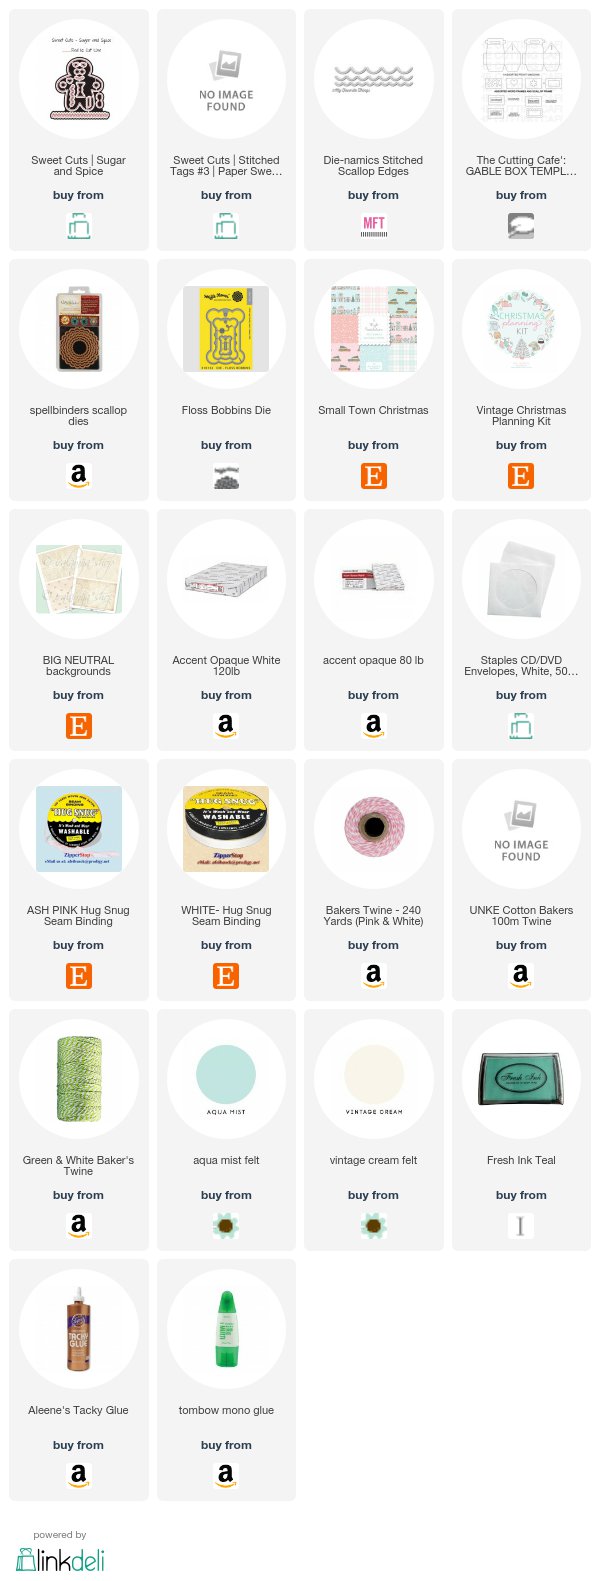
This gable box is a cut file from The Cutting Cafe (one of our sponsors).  What is great is that I can size it to fit my gingerbread men.  If you don't have an electronic cutting machine, a PDF file is included.


Check out that cute tag.  It's part of a printable from AmyJDelightful (another Visions of Sugarplums sponsor).  The pretty pink plaid is also from Amy's store.  


I also put together a simple bag with a gingerbread man tag made with a die from Paper Sweeties and paper from Iralamija Shop (both sponsors of VOSP).


Well, I also needed to package my sugar cookies.  I dropped a star and a tree in a bag, tied the top with twine and then placed them in a paper CD case.  


I quickly made a washi tape clothespin and


added another tag from AmyJDelightful.  


Here's a recipe card, too!  Are you thinking cookie party or gifts for co-workers or Secret Santa?  This printable set would make it super easy!


Another fun idea for secret santa (or for a friend) is a tag kit.  Amy makes this super easy too!


I adore that sweet felt stocking!  It's a die from Paper Sweeties.  My husband walked by as I was putting all this together.  He said "That's cute."  Now, if you knew my husband, you would know that is pretty amazing.  He doesn't say all that much!


This box is made so that part of the bottom of the box shows on the sides.  Here's the details:


So that's a little hard to see.  

Cut the top at 4 1/4 x 5 1/2".  Score on all 4 sides at 3/4".

Cut the bottom at 5 3/4" x 7".  Here's the tip:  When using heavy paper (this is 120lb), shave just a hair off each dimension.  Cut off about 1/16" of an inch.  If you use lighter paper, 80 lb or so, it has some give and you can use the dimesions as listed.  Heavy paper basically as no give and the bottom won't fit into the top, if you don't shave off a little.

Score the bottom at 1/12" on all 4 sides.

Slit the corners and angle the tabs.  Fold on scores and glue tabs.


So let's talk prizes. Thank you to all of this year's sponsors!  I appreciate you so much.


How do you win???


1.  Start by leaving a comment here that you would like to win. 
 
2.  Visit all the other blog's and leave comments.  

3.  I'll pick up your name from here, check all the other blogs and put your name in the "hat"  as many times as you leave comments.  Example:  Leave 14 comments = your name 14 times in the "hat".


My husband is the official "draw-the-names-out" guy.  Yes, we go old school here!  

Winners will be announced Sunday, December 10th.  So you have until Saturday night at midnight to leave comments.


Another way to win is to link up to the challenge.  You can link through Saturday, December 16th.  Winner will be chosen randomly through InLinkz.   Prize is a $20 gift certificate to Mama Elephant.  You can link to the challenge HERE.  (Or just scroll down one post.)

Now join me in visiting these awesome blogs and seeing their fun Christmas creations:


Have fun!  And come back tomorrow for more Visions of Sugarplums!

Visions of Sugarplums 2017 Challenge


Welcome to the Visions of Sugarplums challenge.  The theme is Christmas/Winter.  Link up new projects by December 16th.  

The prize is a $20.00 gift certificate to Mama Elephant.
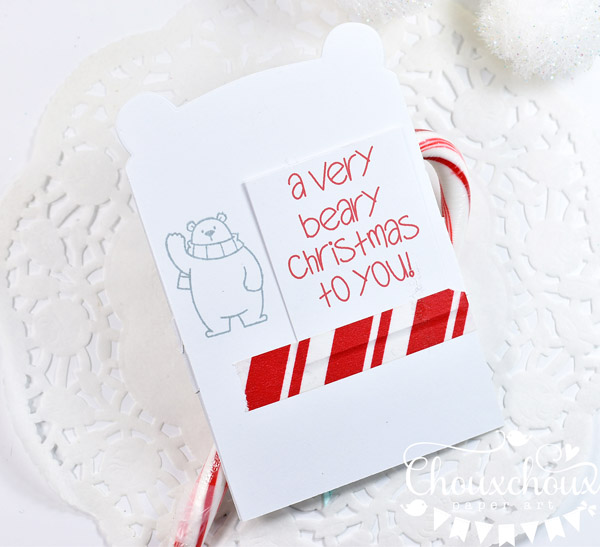
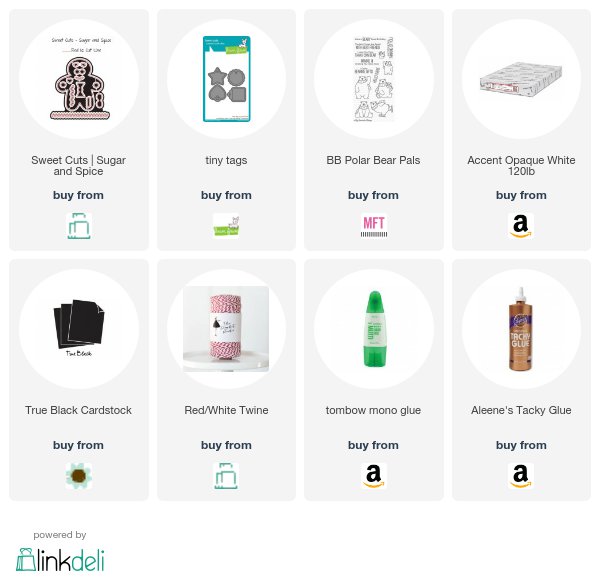
Check out this darling polar bear made with dies from Mama Elephant.


He's just so sweet holding a candy cane.  Wouldn't he make a great stocking stuffer or gift for a Secret Santa?

Cut two bears.  Mine are 5" long.  Make sure your paper strip is a little longer than what you want to end up with.  (I just realized that this is the kitty die, but it doesn't make any difference.  The bear just has rounder ears!)

Decorate the face.  (The eyes from this one are actually cut using the gingerbread eyes from Paper Sweeties.)

Then cut two strips of paper that are 7/8" by 2 1/4 inches.  Round one end.  These will be the arms.  About 1 3/4" shows in the front and the rest is folded to the back of the bear and glued.  Glue the arms together in the front (not to the body of the bear).

The bow on the candy cane keeps it from falling out the bottom.

Glue the second bear shape onto the back covering where the arms are glued to the back.


This is the back of mine.  

If you would like a chance to win more prizes and get great Christmas ideas.  Come take a look at Visions of Sugarplums (December 2 - 4).  Find the first day HERE.

Looking forward to seeing your Christmas/Winter creations!  Link up your projects here:

Thursday, November 16, 2017

Make A Little Round Pumkpkin Card + Little Pilgrims and Turkey Printables + Squirrel Double Layered Tag


Hi there!  I'm getting ready to head to Savannah.  Hate the travel, but love to see Louisa and Lauren at the end.  I've got a couple of Thanksgiving images for you and a fun tag for a treat.


A cute turkey is a little hard to find, but I think this Turkey Pilgrim is pretty cute.  He's all ready for you to print out if you need a cute turkey for a Thanksgiving creation.


Sweet squirrel colored with copics and topping a scallop double layer tag.  The bag is filled with cinnamon pecans.


Here's a look at both tag layers.


Look at those cuties!  They sure hit my cute and sweet buttons.  And I love little round pumpkins.  So I translated that into a little round pumpkin card!


These are the little round pumpkin pieces.  

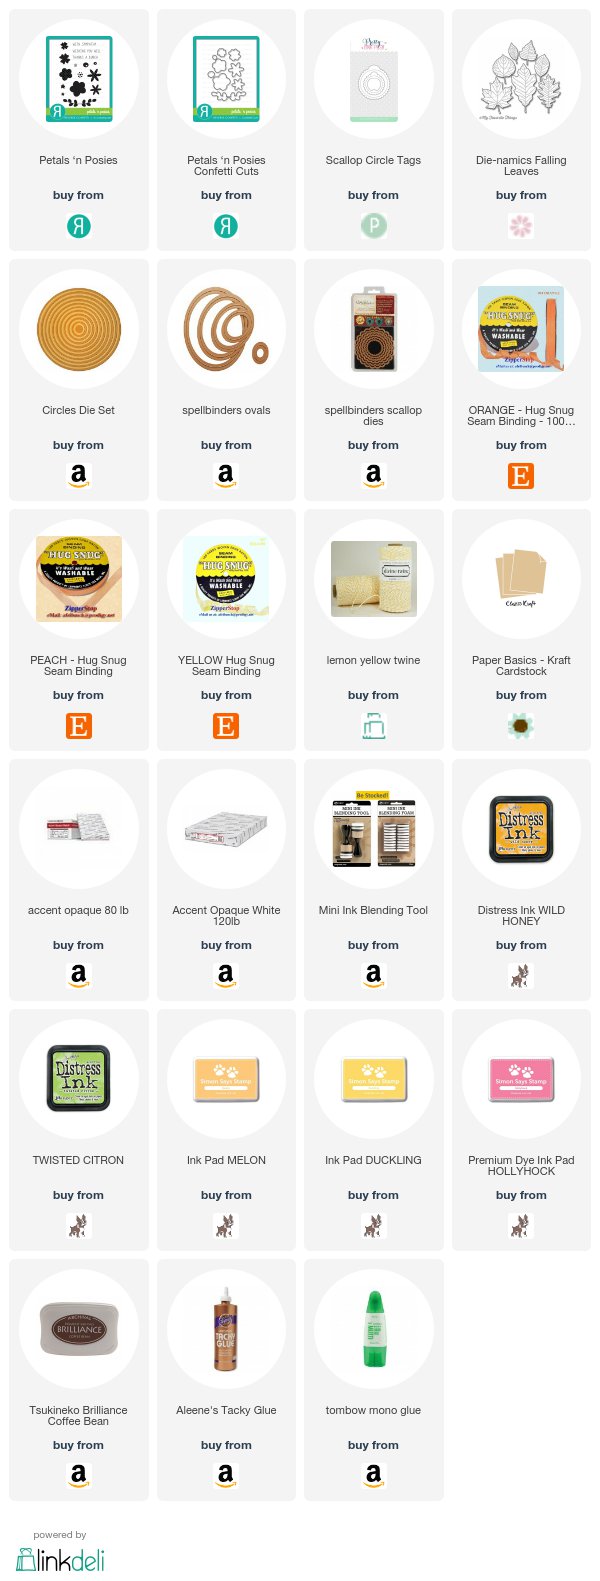
The card base is made by placing the circle die just a little above the fold, so when it's ran through the die machine a bit of the fold stays intact.  

I cut two round pieces one for the front of the card and one for the back.

The oval is almost the same height as the circle.

Tips:  Place the stem (I handcut mine) between the back of the white card base and the orange decorative paper.  Placing it on the back, keeps the stem from creasing when the card is opened.

Use distress ink around the edges of the circle piece and oval piece for more definition.


Download Little Pilgrims HERE.


Download Turkey Pilgrim HERE.


Dropbox seems to work differently for different people.  Either right click and save when image appears or click the download button in the top right corner.  If neither method works, email me and I'll send the files to you.

Happy Thanksgiving!

Friday, November 10, 2017

Easy Stenciled Backgrounds + Very Cute Pilgrims + TinyTownie


Cute, cute Pilgrim Kids!  Love this image - it seems to be a companion to THIS ONE from last year.  You can download it below for your Thanksgiving creations. 

It's got so much going on that a simple background works really well.


One color plaid background created with a stencil and stencil brush.


Talking about cute!  I love this Tiny Townie image, too.  


Here's a list of the copics I used to color her.  Very fun!


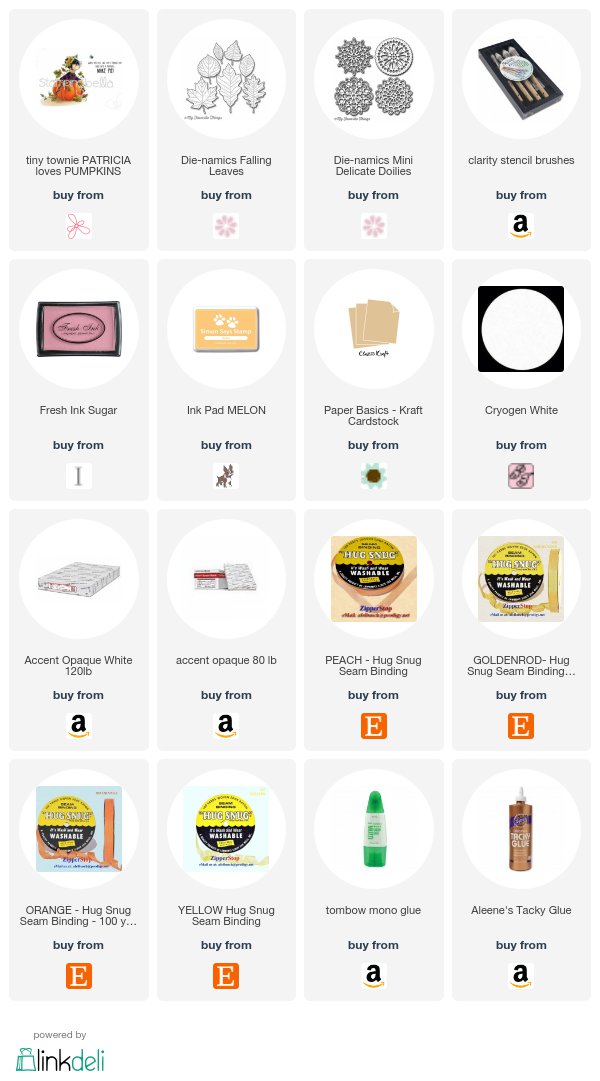
The stencil background for her is a little more busy and colorful.  The leaves are actually a stamp mixed in with the stenciled circles.  You can see a video I did with a similar background HERE.


Download Pilgrim Kids HERE.

Dropbox seems to work differently for different people.  Either right click and save when image appears or click the download button in the top right corner.  If neither method works, email me and I'll send the files to you.


Here's a sneak peek of Louisa's first birthday party and a couple of the things I made.  I made the party hats and the tutu on the bear.  We had the teddy bear in her room and she reached for it every morning and when she woke up from her naps.  I'll share more later...

So glad you stopped by!  Happy Creating!


Wednesday, November 1, 2017

Layered Butterfly Wedding Shower Card


Last week's mission:  Create a special order wedding shower card.   

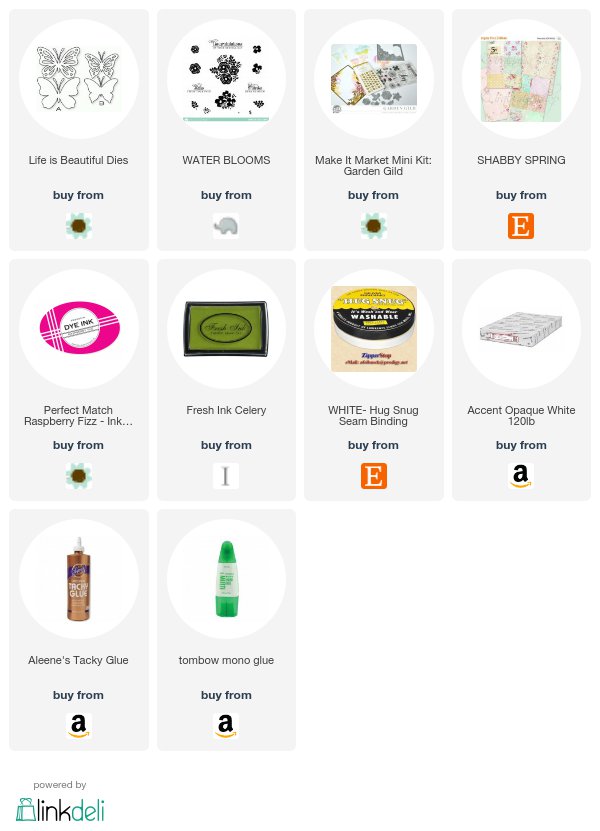
White seemed a good place to start.  So that's what I did...then I decided it needed a little color.  So I layered a solid butterfly underneath the white one that would hopefully provide what I was looking for and then I used that as a cue for the stamped flower.


Insides and an envelope to match and there you go, a pretty wedding shower card.


Love the layers and textures on this card and I hear that my customer and the recipient love it too!  Yay!  Mission accomplished.


Monday, October 23, 2017

Distress Ink Halloween Background + Dress Up an Image with Stamps


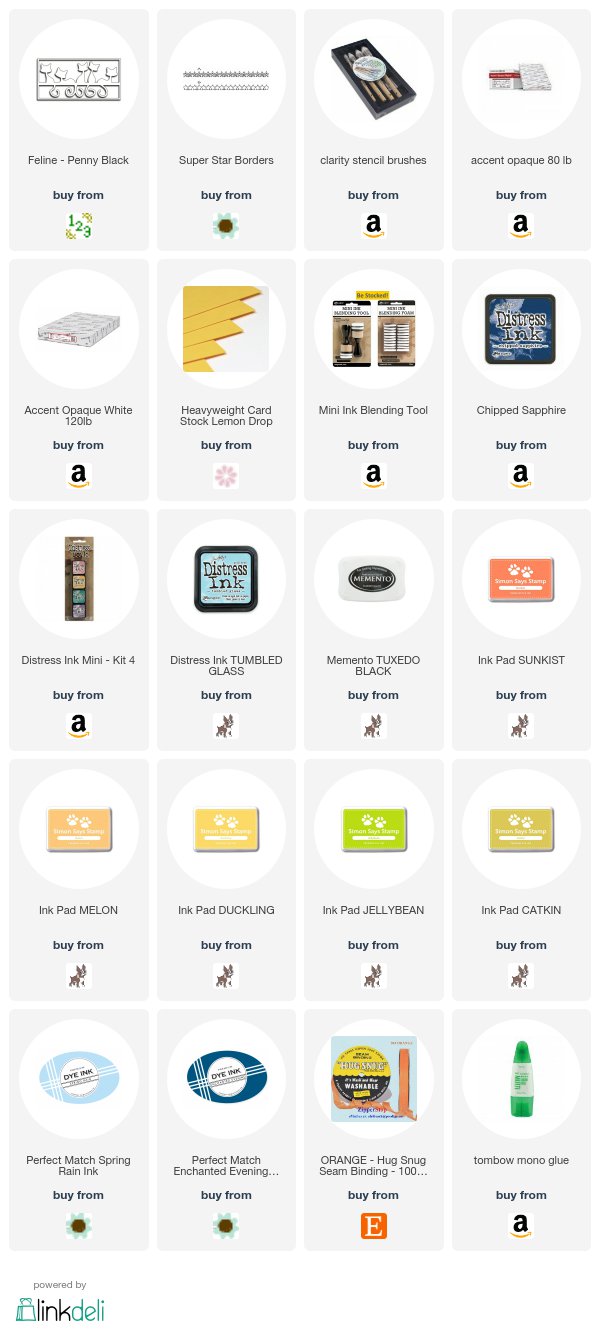
Love the Halloween sky in these cards.  So fun and easy.  Apply yellow distress ink in a circle and then surround with blues and purples.  Sprinkle a little bit of water and you're done.


Fe-Line.  Hah - love the word play!  Such a cute name for this line of felines die.   Also love the black glitter paper.  It's corrugated like cardboard.   I picked it up at a cool little shop in Wichita.  Guess I won't be going there again any time soon, considering my bunch have moved on to Savannah.  I'll have to find all the cool little shops in Savannah.  Something fun to look forward to...


Dennis says this sweet little girl looks like Louisa.  I think she does, too!  She's not a Halloween image, but the black cat lends itself to dressing her up for Halloween.  I just added a cute witch's hat and voila!  she's dressed up for Halloween.  Just to take it even further I added a couple of pumpkins in front of the fence and some bats to the Halloween sky.   Think about adding stamps to printed images - fun!


You can download Girl with Black Cat HERE.

Dropbox seems to work differently for different people.  Either right click and save when image appears or click the download button in the top right corner.  If neither method works, email me and I'll send the files to you.

Happy Halloween!


Related Posts with Thumbnails