Hi, there! When was the last time you went to the circus? I think we went one time when Lauren was little, so we're talking 25 years ago for me. Dennis and I have been watching a show that reminds of a really awesome circus sometimes: America's Got Talent. We'd never watched it until this season. Maybe they should combine several of the acts and take them on the road!
I guess America's Got Talent put me in the mood for something circus-y and then my grandma asked me to make a card for my little cousin's seventh birthday so...
Isn't this clown adorable? I got it from Retrofair Graphics. I don't think you have to be seven to enjoy this!
This cute circus elephant is from Studio Shine Vintage.
I can think of several ways you could use these circus decorations - cupcake toppers, party favor bag toppers, birthday bags or cards, a banner....I'm sure you can come up with many more! Here's how easy they are to make:
Make fringe first. I layered 6 strips of crepe paper - 2 of each color, alternating colors. I've made fringe before by sewing down the middle, but I really think I like gluing down the middle better. I thought it would be a great idea to cut it with fringe scissors, but mine cut way too thin strips. There is no need for each cut to be exactly the same, just start cutting, stopping at the glue line.
Next, make the stars. I cut three stars and glue them together. This makes the star nice and sturdy and it holds up well to the glitter and the hot glue on the back. The clown has stars that are displayed with wire. I use 24 gauge wire for this. Make a coil in the wire - the coil is great for adhering to the back of the star with hot glue. I always glitter after adhering the star to the wire. I hot glued the stars onto the back of the clown.
Cut off a small piece of fringe and glue to the straw. I put a ring of glue all the way around the straw and wrapped the fringe around the straw. Next adhere the clown, elephant or other image above the fringe. And FLUFF the fringe. Fun, huh?
If you want to use the decorations on a bag, a paper clip is a great way to hold it in place.
I stamped a cute ticket to use on the party favor bags I made.
Fun, sweet circus bags!
I wonder who will win America's Got Talent?

My friend, Souna, teaches first grade. She's an awesome teacher and I adore her. I needed a new partner and I knew as soon as she started talking in the interview that I had to have her. She was a trooper - hired only two days before school started - can you imagine? That was 15 years ago (or so) and we've been friends ever since.
Souna called me up before this school year started and asked me to make her a new door decoration. She has a lot of holiday cutie signs that I've made for her, but I've never made her a Welcome sign.
This was really fun to put together. I used the apple print dies and stamps and a new die included in the County Fair Kit from Papertrey Ink . The sign is made sturdy with three layers under the pattern scallop (110 lb. paper) and then another slightly larger.
Now it's happily welcoming first graders and their parents to class. Happy school year, Souna!
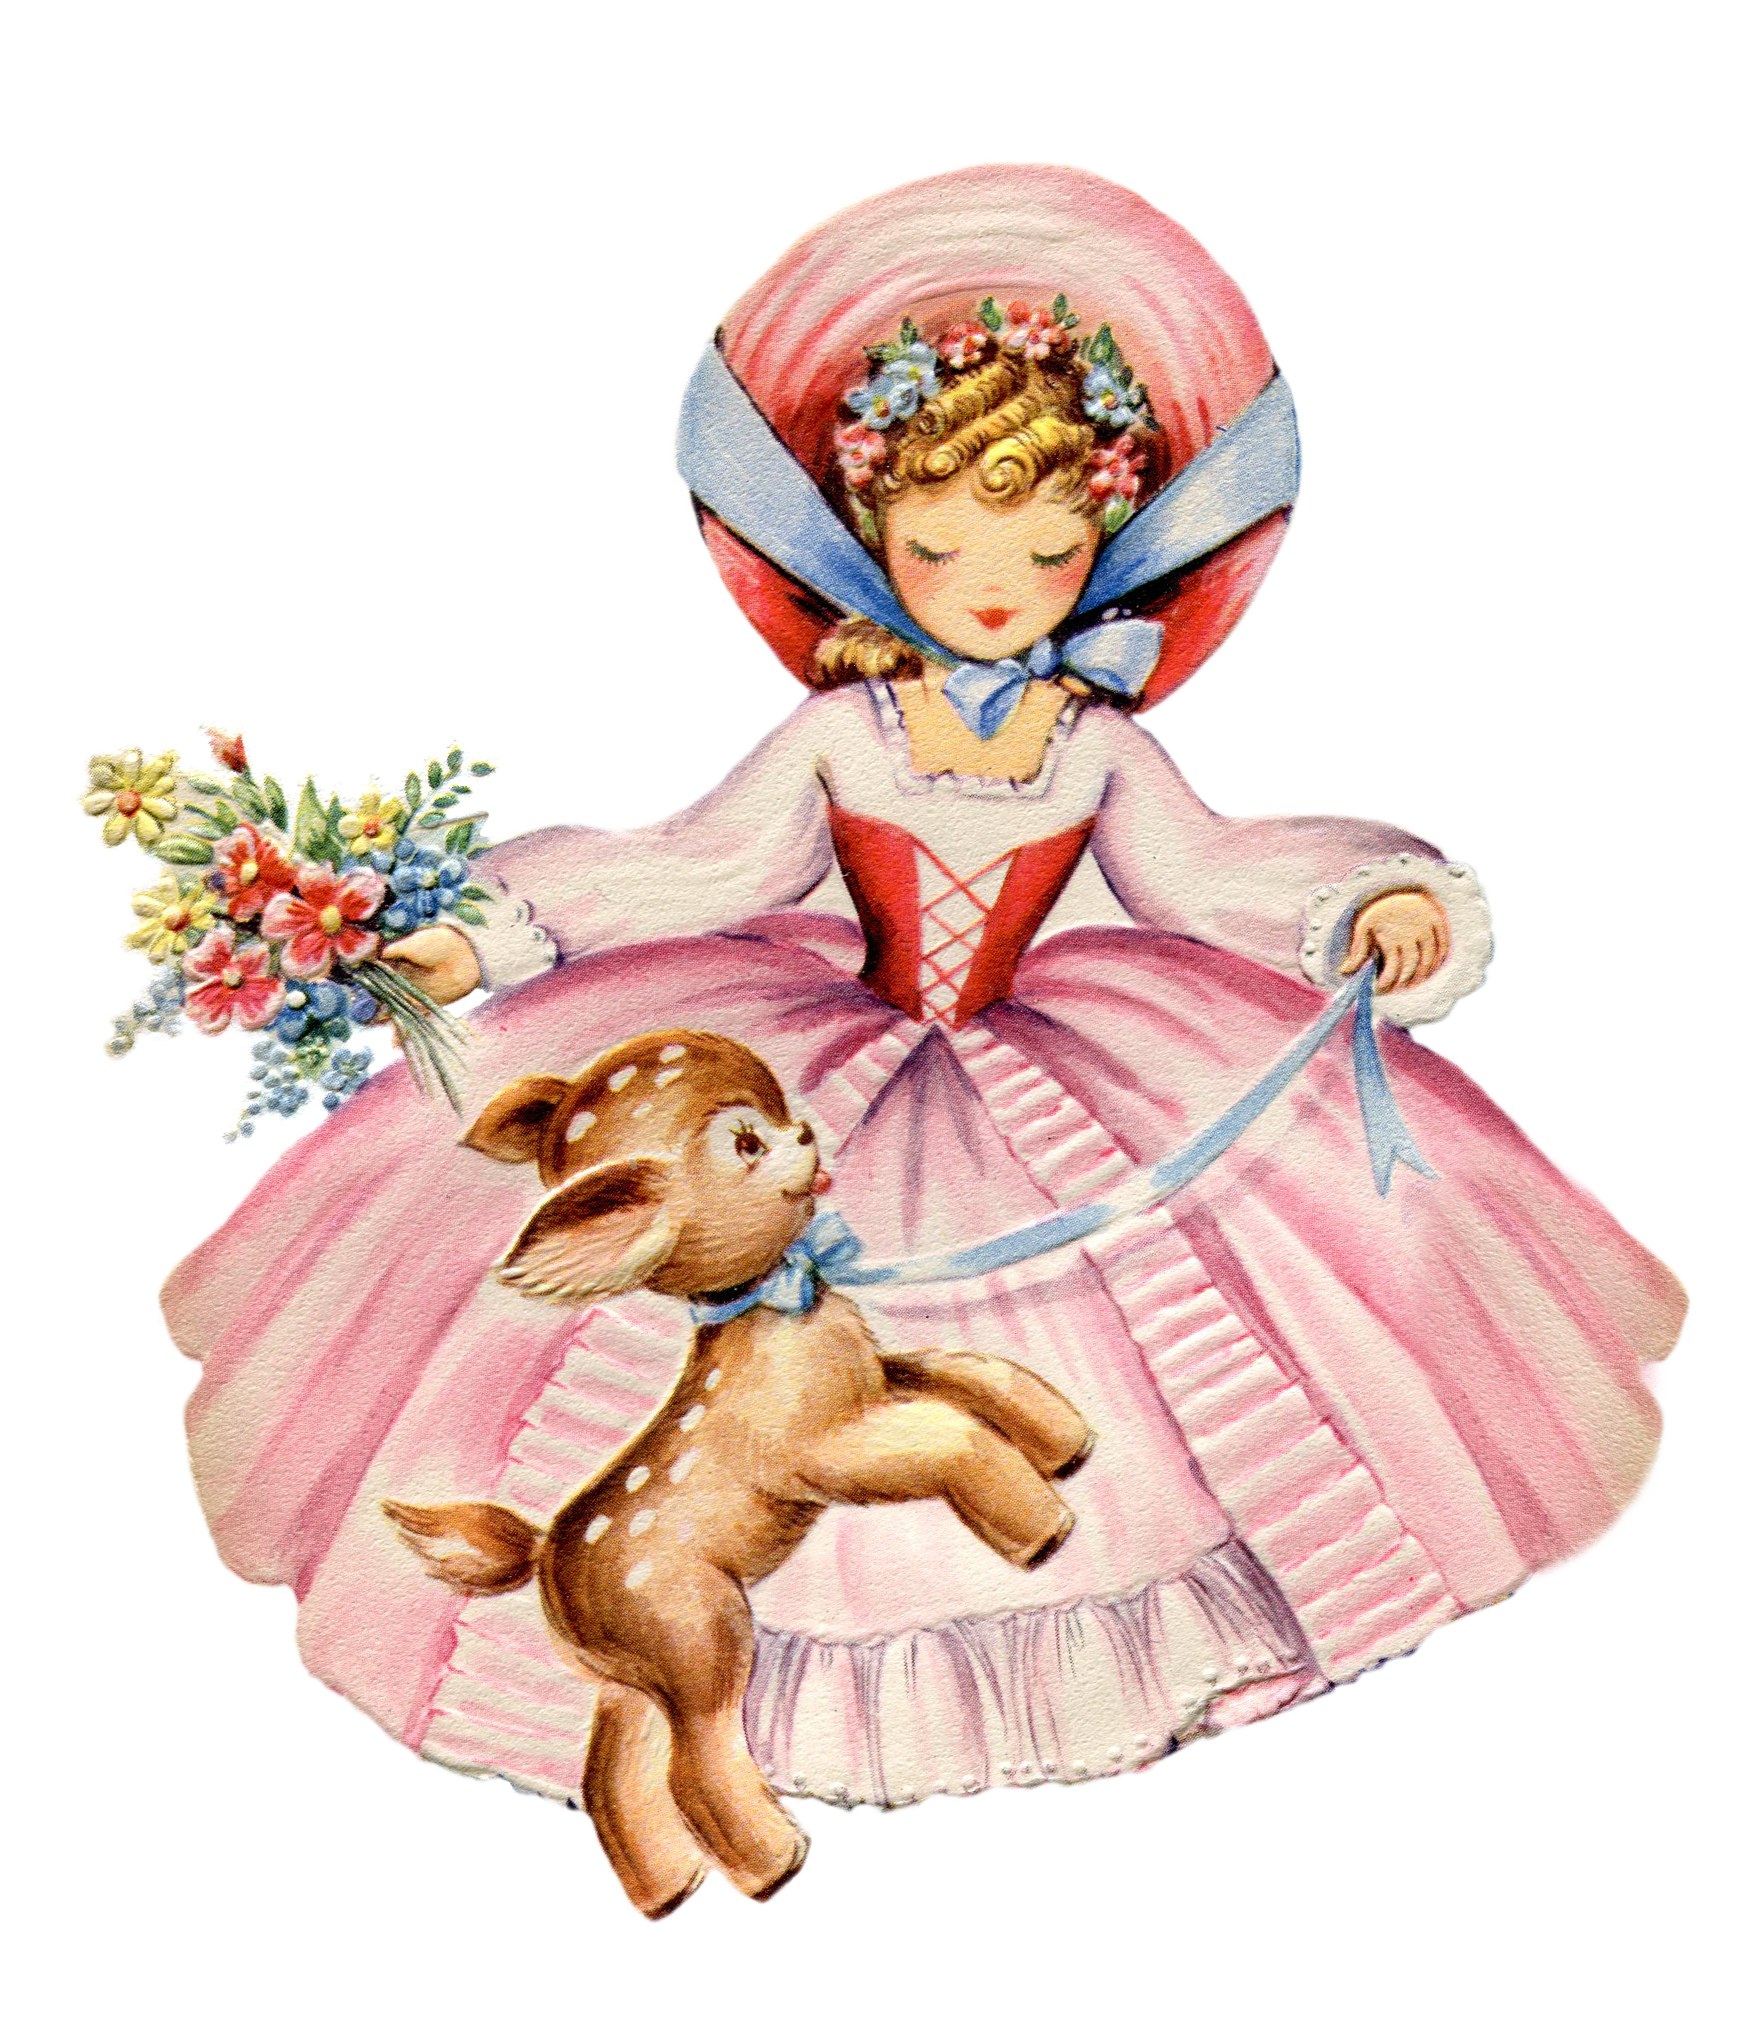
Hi, there! Keren (Free PrettyThings for You) and I teamed up again to bring you a couple of oh, so sweet free images!
Couldn't you make some cute things with this darling girl and her deer? I found the original card up some time ago and had tucked it away. Luckily, I remembered that I had it and Keren cleaned her up and even changed her colors to autumn, so that I could use her in a fall project, as well!
It's so cool, how Keren can change it up!
I used the Spring version to make a "You're such a dear" card - giving a little nod to that adorable deer.
I added the Autumn version to a small gift bag - adorable for fall or a Thanksgiving hostess gift.
Some punched leaves made a pretty decoration on the top (over to the side, so they wouldn't interfere with the bag closure). The sentiment stamps are from Paper Sweeties.
Love the shape of this bag! You can find it HERE.
Click on over to Free Pretty Things for You to download the autumn version and click HERE for the spring version. Hope you enjoy this sweet image as much as I have!
Have a wonderful week!
Okay, here we go - I've got a couple more panda cuties!
First up is this adorable panda stamp from Kitty Bee Design. I just ordered three more stamp sets when I went to get the link for her store! They are too cute to resist! (Hint: Check out the raccoon.)
Hmmm...what should I put inside?
Isn't this a cute panda box? It's very easy - you can just print it, cut it out, and put it together. You can get it from Jinjerup. You'll see a lot of other cuties in her shop, too. Check out the oh, so sweet stationery!
Still in panda love, how about you?
Black cats are everywhere and it's not even Halloween! Well, I might be exaggerating a bit. You probably know that my sweet Kitty is a black cat. We also have a stray black cat that's been hanging around for several months now. It looks just like Kitty, at least from a distance. I haven't been able to get very close, it's very skittish - don't even know if it's a boy or a girl. I'm beginning to feel like I need to feed it. I've resisted so far, didn't think it would stay. But it's just like Kitty in another way: Kitty was a stray and would not leave. That was 13 years ago. I'm sure my husband is thinking "Oh, no!" (Although lately, I've caught him acting like he rather likes Kitty. Maybe it's just familiarity?)
Often when I find Agnes Richardson postcards with black cats, they often say something about good luck. I was surprised to discover that in England, black cats are considered good luck! Isn't this just the cutest, sweetest image?
You can download the image HERE. Or click on the image above.
This is actually an embellished string envelope and I've made a tag that will fit inside.
The tag is cut with a digital download set from Stampin' Up called Cool Like That.
I need to dress Kitty with a big orange bow - although it wouldn't take him two seconds to get if off. (Yes, Kitty is a boy - terrible name, I know.)
So glad you stopped by!
Well, what can I say? Still in (Panda) love here. And might be for awhile longer! Pandas are furry and chubby and as cute as can be. I remember how fun it was to teach my first graders that contrary to popular belief Pandas are NOT bears. One little guy got really big eyes and said, "But, my mommy always says where's your panda bear?" Hard to say that Mommy is wrong, right?
First up is this adorable Felt Panda case. It's perfect for lip gloss, coins or even a gift card. The dies from Papertrey Ink make this super easy!
See how the die cuts the sewing holes? Amazing! The case can be turned the other way as well, making a long case. The zipper can also be moved to a different location.
It's also amazing how easy it is to put in a zipper. Put it in place, unzip it and sew around the opening. Take time to poke out all the little holes that are still intact. For a details on how this little coin purse goes together, Papertrey Ink has a video HERE.
First step in creating the felt panda face, is to adhere Heat N Bond to it. The Heat N Bond makes the felt very stable, easy to cut and adhere to the purse.
If you use a Silhouette to cut the panda face, remove the paper backing before placing it on the cutting mat. I started with THIS file and modified it. I made the eyes bigger and used black brads for the pupil. I die cut black circles and cut away a little at the bottom to create the ears. I also added a little top knot right on top of her head and a line of embroidery to her nose.
Next up is some really cute Panda stationery. The sweet pink panda image is free from Wild Olive. I printed 6 pandas large: they are about 6 3/4" x 8 1/4" on 80lb paper. That feels nice for stationery and is still easy to fold to put in the envelope.
My envelope punch board came in handy to whip up the envelopes. The envelopes are sized to fix a 4 x 5 card. I folded in the panda's arms and then folded him in half. That worked perfectly. I printed the pandas a lot smaller onto sticker paper to create envelope seals.
For giving, I stacked the pandas on top of the envelopes and tucked in a couple of bonus pandas. You can tell in the photo above that I popped the seals in a small glassine bag and tied it to the front.
Hope you enjoyed two more panda projects and you're not running for the door, I'll probably have at least a couple more!
I wanted to take a moment and thank all of you that have signed up for the Choux Box Kits Club. If you're interested, click here or on the link at the top of the page.
And one last quick note, I really want to respond to SPPRCRFTER (who asked me to send an email). Your email isn't on your profile. Please email me (click on the link in the right sidebar) and I'll email you. Thank you!


