Hey, there! Oh, my goodness have I been so busy. This Sunday is one of my "Show and Sale" parties. I display Halloween, Thanksgiving, Christmas and a sundry of other goodies for my friends to order. I still need to clean house and bake the edible treats!
Here is one of the Halloween treat bags:
It features one of my favorite Halloween decorations: a black cat! I made this very similar to the circus bags I posted earlier. (You can look at that post for instructions.) It seems I'm putting fringe on lots of things! I made this fringe exactly the same way as I showed on the circus bags post, but this time I cut it with pinking shears. It's six pieces of crepe paper - alternating orange and black.
After I glued on the black cat and the fringe, I folded a piece of the yellow pom trim in half and tied it on with black ribbon. Here's all the pieces:
The paper clip is for clipping the black cat to the mini bag. I just slip the paper clip into the straw and then onto the top of the bag.
Here is the black cat face for you:
Click HERE to download. If you have any trouble downloading, email me and I'll send it you that way. This is also a Choux Box kit. You can email me if you want one.
Okay, I better go get something done for the party...Have a lovely rest of your week!

Oh, I wish it was frosty here! Are you a warm weather or a cool/cold weather person? I love cool and cold! I love sweaters and old worn blankets. I love hot tea and chocolate while curled up with a good book. I love snowmen!
Isn't he a cutie? This is Frosty. I couldn't wait to ink him up and choose his scarf colors.
Frosty is a new stamp from Woodware in England.
I just put him and some other new Woodware stamps in my etsy store. There is the cutest ramshackle house, an adorable Christmas owl all bundled up, a beautiful wreath, a set of gorgeous leaves, a very cute dragonfly,a huge NOEL that would be so fun to color, and a beautiful bird with flowers. They are all in very limited numbers. Check them out if you get a chance.
Hope your week has been fabulous so far! Thanks for stopping by!
This post falls under the category of "Ask and You Shall Receive"! Isn't it cool when that happens? I was trying to remember the last time that happened to me - it may have been more likely that is was "Beware What You Ask For"! Yep, that was probably it!
There's not a lot to beware of here, at least. Several of you emailed and left comments asking questions about THIS quilt block card (with a free image offered by Free Pretty Things for You and me) that I posted on Monday. So I'll show you how I did it.
You'll notice this cad has very few changes from the earlier one. I already had quilt blocks die cut in the same paper, so I just changed the image - isn't she adorable - and the sentiment (and a couple of pink pearls).
The first thing I did for this post was Google Search "Quilt Block Die". The reason for that is because this die is part of a Make It Market kit from Papertrey Ink. I don't see that they are selling it by itself. Maybe they will later. I found one very similar at WPlus9, but they seem to be sold out. I was surprised not to find more, maybe you know of another quilt block die out there that didn't show up in my search. So, I'll make an offer to you: if you would like you can send me paper and I'll be happy to die cut it for you or you can give me an idea what you're looking for and I might have something that will work for you. You can email me and we can work it out.
One tip is that I think this card works best with coordinating pattern paper. This paper is from Shabby Miss Jenn's from the Forever Fall set.
Running tape on the back of the quilt block makes all the difference in the world - talk about easy to put together - the tape grabs the pieces and keeps them in place so that you can easily place the pieced quilt block on a card.
Next, I taped the two quilt blocks together on the back, one beneath the other - measured them and cut a card base to match. Before gluing the quilt blocks in place on the card, I glued the scallop border to the left side.
And that darling little girl can be found at Studio Shine Vintage. Such cute things there!
Hope you've had a lovely week and are looking forward to a fabulous weekend!
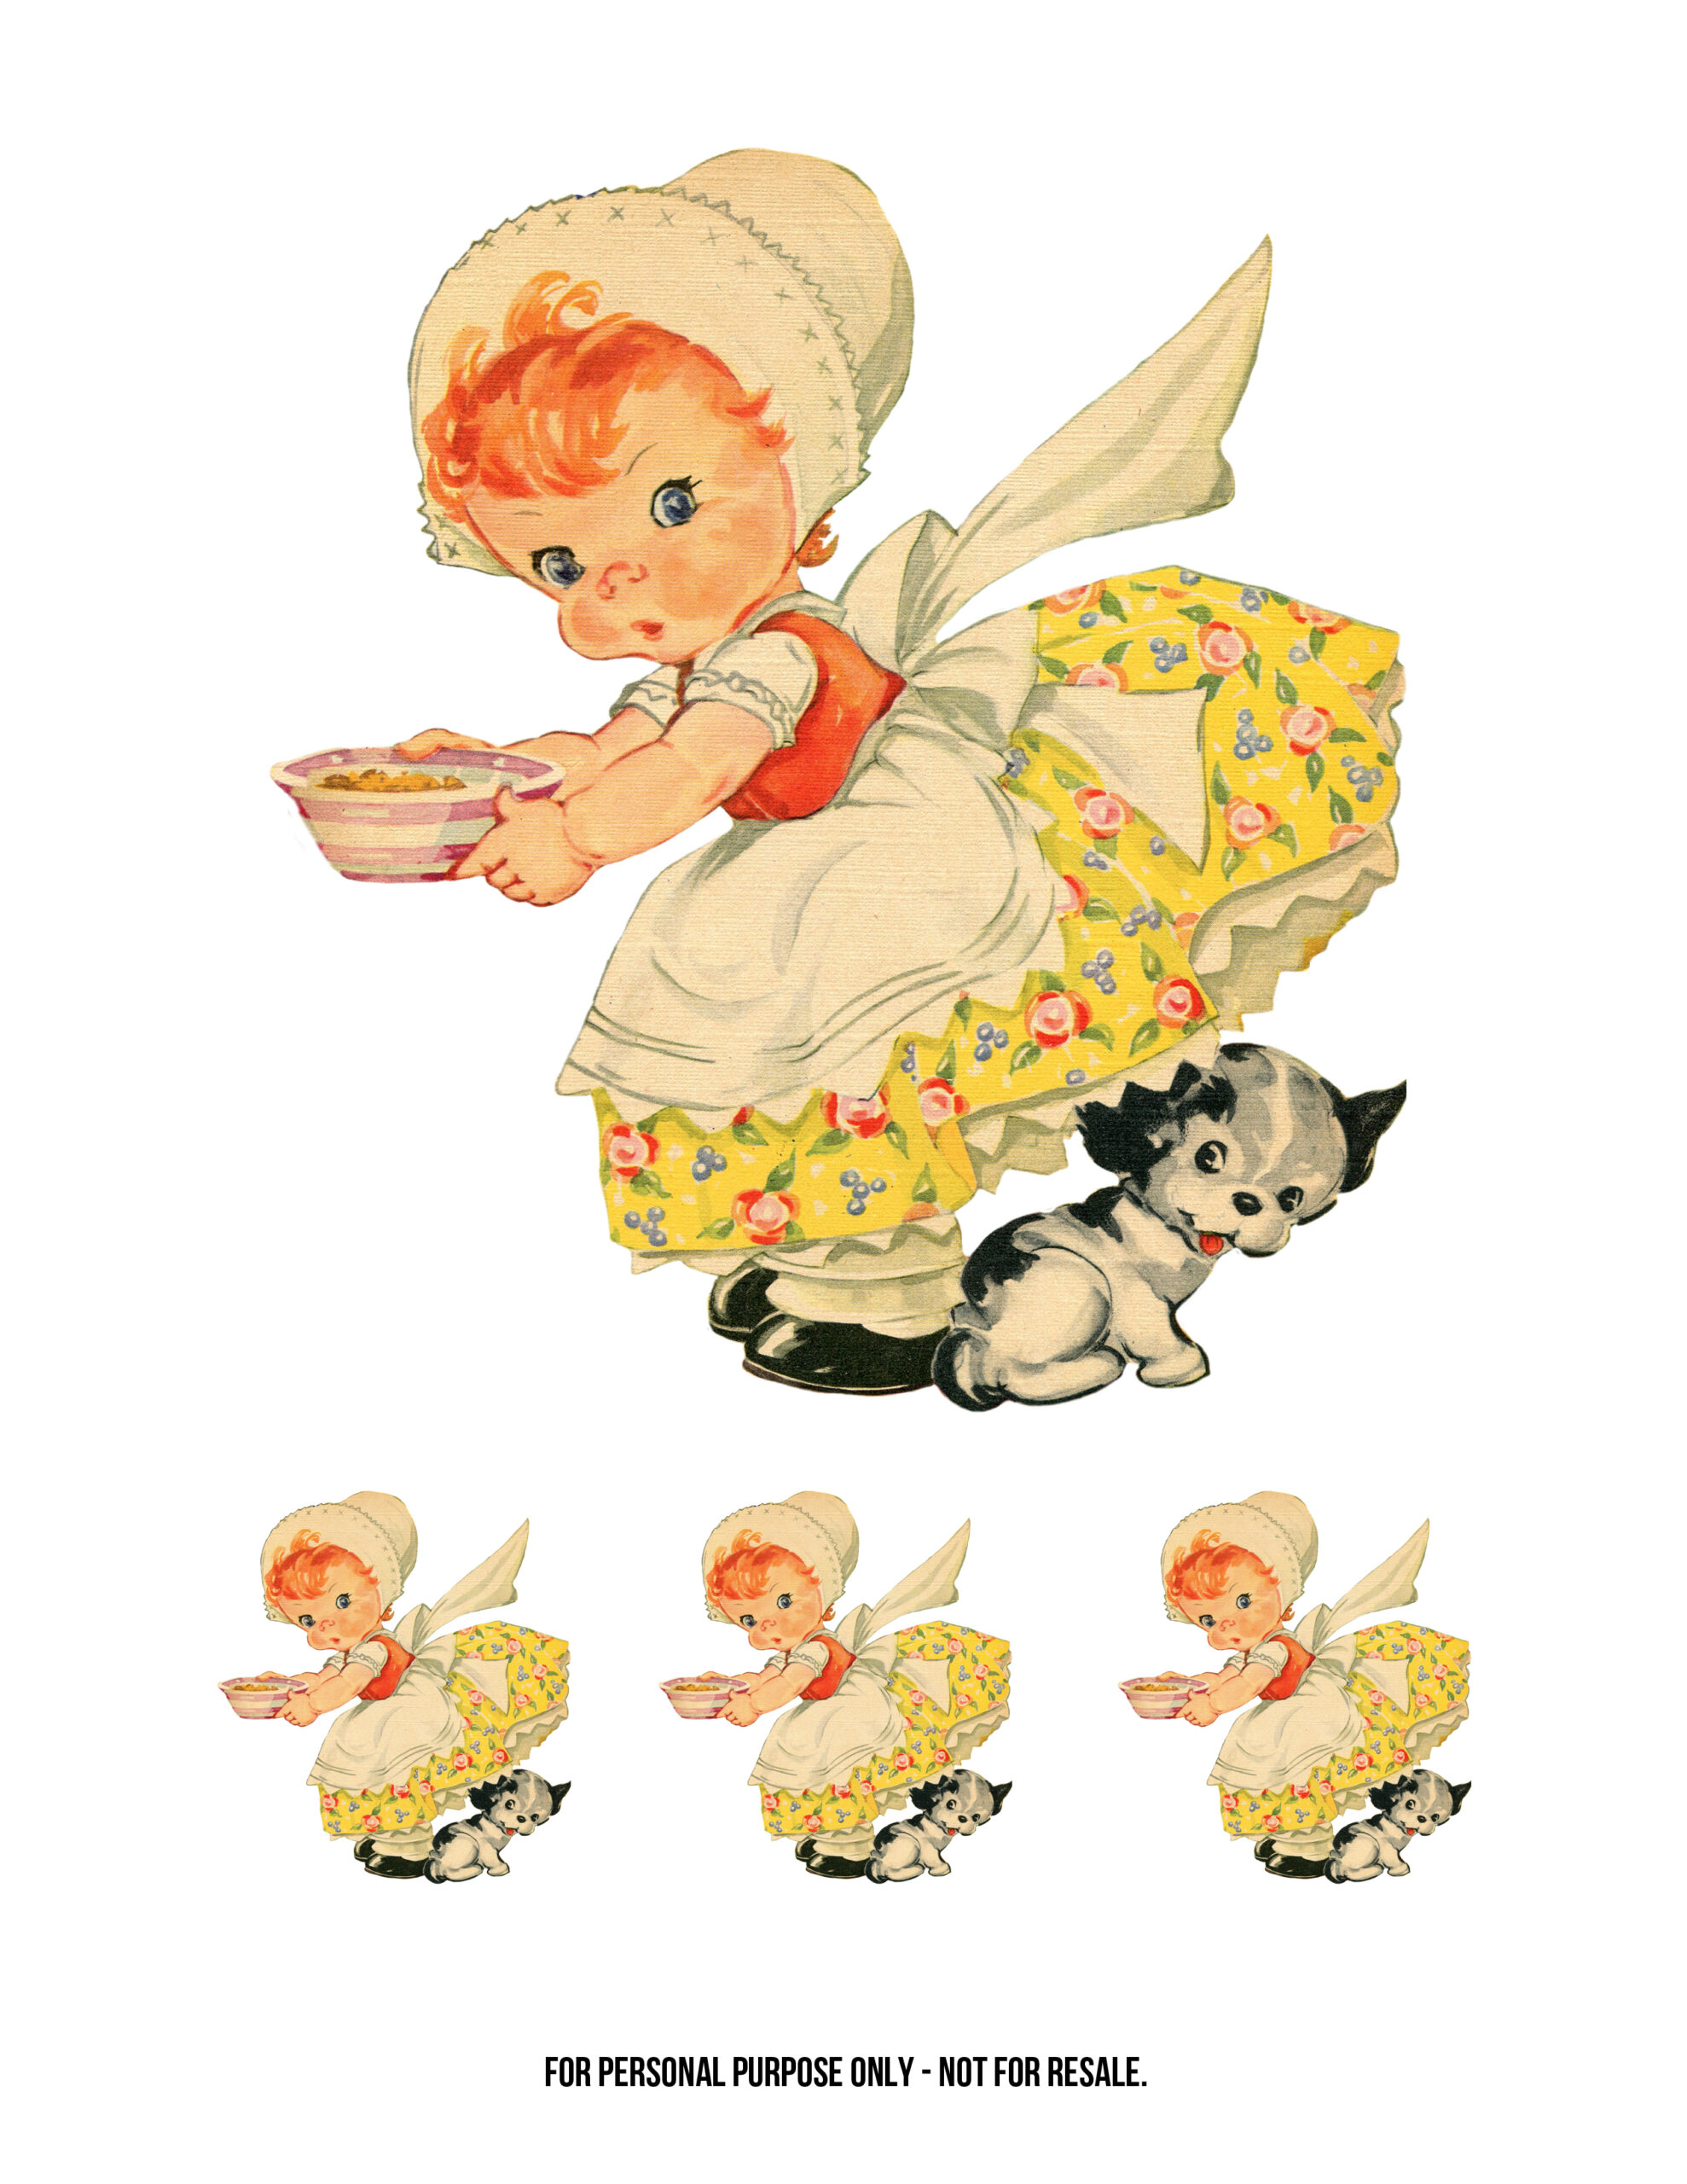
It's time for Keren (Free Pretty Things for You) and I to share some "Cute and Sweet" with you. Ruth Newton's illustrations are certainly cute and sweet! This one is from Ruth E. Newton's Mother Goose book - page after page of adorableness!
I thought it would be fun to create a thankful card. Her dress made me think of autumn and it seems to me the puppy is thankful to the little girl for taking such good care of him.
You can create your own project because Keren cleaned her up and even changed her cap and apron to pink! You can download the cream colored apron image HERE. Click on over to Free Pretty Things for You to get the pink apron version.
So glad you stopped by!
Besides creating, what do you like to do? I love to visit Lauren, have lunch with Dennis and with my parents, I love to read (zombies are a guilty pleasure), I love a vintage find! I am in love with these darling pumpkin and black cat decorations. Not exactly sure what they were, someone thought maybe a cake topper. They are too big for a cupcake. Well, whatever they were, I decided I would turn them into ornaments.
Some ribbon, twine, button, glittery black cat and star later (along with some fighting with the hot glue gun), I was perfectly happy! This will make a nice addition to my Halloween decorations! This little item was one of the Choux Box Kits. A few other lovely ladies will be adding this cutie to their Halloween decorations, too!
Hope you're having a lovely week and I'm so glad you stopped by!
You can never have too much happy! I've had a happy day: lunch with Dennis, creating new things, seeing Lauren's pictures of her new puppy, Percival. I hope you've had a happy day!
This owl project makes me happy, too: It's cute. It's easy. It's fast. It's fun. It's all about how to get this from this:
Need a gift bag quick? Use an envelope to make it.
Need a tag quick?
Use a cute store bought card and make it even cuter! I just added the Happy tag on the front and a cute sentiment inside. It's kind of cool that it's a tag and still a card.
The last thing is a felt flower embellishment just to make it even better.
A little bit of washi to dress up the clothespin and some twine loops:
I like to use a thick glue, like Aleene's.
Cut and layer some felt flowers.
I used Petals and Posies Dies from Reverse Confetti.
I leave you with more sweetness (this is Percival):
Have a great week!
Are you one of those people who have all the birthdays you celebrate memorized? Or are you one of those people who keep track of them all in a pretty book? Or are you one of those people who find themselves saying things like, "Oh, it's your birthday!?" In spite of creating several of the aforementioned pretty books, I (oh, so unfortunately) am one of the third type of people. Sad, isn't it? The people who asked for these two cards fall into the top two categories - I would love to be so organized!
Isn't she a cutie? You can find her at Studio Shine Vintage.
You know I love Agnes Richardson images. This one is available to download below.
You can click on the image above or download it HERE.
I should probably create and actually write in a birthday calendar of my own. I would love to have time to do that!!


