Have you had Cracker Jacks in awhile? I loved them as a kid - now I have to say I didn't eat the peanuts, just the carmel popcorn! I couldn't wait to find the treat - it didn't seem to matter what it was - I loved it anyway!
For some reason when I think about Cracker Jacks, I think about being out in the front yard. So I guess Crackers Jacks are nostalgically connected to childhood and outside fun. So it seems they would be a perfect treat for the 4th of July. And I don't think a regular treat bag will hold enough - so gussets are necessary!
Do you need gussets for your 4th of July treats? Here's out to do it:
To make a gusseted bag with a finished size of 3 1/2" x 5 1/4", cut decorative paper or printed copy paper to 6 1/2" x 10 3/4". This cute paper is from Grepic - the circus/carnival set. You still have plenty of time if you like this paper: it's an instant download.
Next, make your scores on the vertical sides of your paper. Fold the paper in half top to bottom. You only need gussets on the top half. So cut on the 1 1/2" scores from the bottom of the paper to the middle fold.
Now, fold the gussets. You need a valley fold in the middle.
After folding, add adhesive to top of the folded scores, fold up the bottom (back of the bag) and press firmly. I used pinking shears across the top of my bag.
Add your goodies! You might want to know that I got that cute patriotic pup from Cotton Field Farm. It's an instant download too.
I wanted to link you to one of my daughter's blog posts. She has a wonderful fresh raspberry and heavy cream dessert that would be wonderful for the hot days of summer. She also has some fun and enlightening history on midsummer. I wanted to rush out and buy black velvet, tiny pins, and some stockings. You'll learn why!
Have a wonderful Fourth of July!

Okay, that's me - talking to me: "Get ORGANIZED!!!!!" I've never been particularly neat. My poor mom, I know she thinks I was switched at birth. Trust me, my mom and dad never have to run around in a tizzy when someone is dropping by! So, why should my craft room be any different? But, really, it is now out of control! I have to start getting it together. Here are a couple of simple ideas and I love them!
Aren't these ribbon holders pretty? You can find them HERE from Free Pretty Things for You. I love that they can be printed in just about any size. These laces are about 2" wide, so they don't fit on just any holder. And trust me, these are a lot better than a drawer stuffed full of lace! They are lovely enough to display in a basket. I've got to make quite a few more...
My gem and pearl stash is a mess! I've got a box full of bags and acetates with gems and pearls. There are bags that have slipped under other bags and pearls that have fallen off to float around. So, I came up with this:
Isn't this better? I bought some cellophane bags and cut kraft cardstock to size. To make them a little more decorative, I die cut and added a small stamp to the top of the cardstock. Okay, I've got quite a few more of these to make, too. But, at least I've started!
I would love to hear about your storage ideas!
Hope you're having a good week!
Suzanne, as you know, loves photo cards. She keeps me busy making them with her fun photos. I think these photo cards are a wonderful idea: graduation cards for mother and daughter.
I decided that I would make matching cards instead of both cards being exactly the same. Here is the mom's card:
Suzanne loved the cards and let me know that mother and daughter were also thrilled. That's always nice to hear!
It's been awhile since we've had a graduation in our family. Lauren and her husband, Paul, were the most recent and that's been about 5 years ago. Did you have a graduation this year?
I love flags and stars on the 4th of July! There is something so pretty about our flag. I love pulling up to our house and seeing the flag flying out front. This project combines a star with our flag. That's perfect for me!
Doesn't it look a lot like tin? I made it from paper - really! This paper is from Picky Chicken. Would you like to make a 3D Patriotic Star? Here's what you need:
I printed the stripe paper on 110lb paper double sided. I'll tell you why a bit later. To do the star - the way I made it - you will need two striped stars. One will be the back. You want the stripes to go horizontal across the star. Also, I think fat stars make the best 3D stars. Not really skinny points. You can use a die or draw them yourself. My star file is from Silhouette.
First you will need to score your stars. I marked my score board with a silver sharpie so it would be easy to line up a point with its corresponding intersection. Score all five points.
On the blue star, only score the points marked with an asterisk. Then cut the blue star on the score lines.
When you cut the blue star, it will be slightly off. You just need to trim it so that you get a nice edge that lines up with a stripe. Each star may be slightly different depending on how the stripes fall. Glue blue piece on top of red striped star. You may want to score again the lines that run across the blue paper.
Now you are ready for the 3D effect: fold on all score lines. Isn't that cool?
Punch the holes far enough from the edge, that you don't have to worry about pulling through them with the wire hanger. Then take the back out and set aside.
You could probably glue the sequins on, but with those tiny tiny seed beads, I thought the only way to go was to sew them on. So that's why you need a back - to cover the thread knots. Also, it makes the star nice and thick. I printed the star paper on both sides so that when I slip the back into the front there isn't any white showing. It is really hard to get the two stars folded exactly the same, so it really helps to have the stripes on the other side as well!
Once you've finished sewing on the sequins and beeds, you are ready to add the hanger. The wire I used is 20 gauge. I added a bit of distress ink on the edges and scores. And glitter, of course! These make wonderful 4th of July decorations or you could clip them to a sack of sparklers or a treat.
Do you have a 4th of July tradition? I'd love to hear about it.
Hope you're having a wonderful week!
Oh, Betsy Ross! Is the story we know of her true or not? Did she sew the first American flag or did her grandson make it all up? I suppose we will never know and I've decided that it is perfectly okay to love the idea of Betsy Ross (as long as I acknowledge that her history may be entirely fiction)!
I do know that I think this image of Betsy is perfectly adorable and I as soon as I bought it at a Wichita antique store, I wanted to use it on an ornament. You can download her below for your personal projects.
This cookie cutter ornament is so sweet and fun to make! I just love the 1776 ribbon I found at MIchaels - seems perfect for Betsy, doesn't it?
I have found that Aileen's works really well for adhering ribbon to a cookie cutter. Start at the bottom and work your way around - you may need to hold the ribbon in place for just a bit at the joints of the star.
Placing the knot closer to the front of the star helps the ornament hang straighter and not tilt forward.
Now you're ready to decorate. I stamped a 1776 tag and punched two holes along the side. Then I threaded the twine through the tag and tied a knot. I also added a bit of yellow (toned down with white) watercolor to make the tag more the color around Betsy.
I created the Betsy Ross tag with one of the framelits from Chalk Talk from Stampin' Up.
I wanted to tone down the yellow around Betsy, so I painted about three layers of white watercolor around her. In the above picture, I've painted over the yellow once.
These watercolors are brand new - we just got them at the store. They are so pretty and creamy!
I tied the Betsy tag around the bow and hot glued it to the cookie cutter.
I love my new Betsy Ross star ornament!
You can use Betsy in your July 4th creations, download her HERE.
Have a wonderful week!
I like to have cute things around - by my computer, in my craft room, in my office at work. This sweet project came about because I wanted a cute cover for a memo pad to put on my desk at work. Something that would be reusable and would make me smile.
I started off by looking at the sweet images at Free Pretty Things for You. I found a kitty face that seemed just right.
Don't you think I'll smile every time I open this up to write a little note? I think the kitty looks like it's looking out a window.
This was fairly simple to do and I really like the functionality.
I started with the size of paper I wanted to use. My memo pad is 3 x 4". I had some old notebook paper that has been laying around and I cut it up. My memo is about 1/4" thick.
Add a chipboard or heavy cardstock back. PVA glue is great! It will allow you to peel off a piece of paper at a time. Very cool! I got mine from Paper Source.
To figure out the size paper to cut for the cover:
1. add about 3/8" to the length of the memo
2. add the width of the memo pad twice, the thickness of the memo pad, plus 1/2"
Example: My striped cover measures 4 3/8" x 6 3/4".
I glued my memo holder pocket, but you could also sew it. You could also turn this the other way by putting PVA glue on the long edge and turning the direction of the pocket.
You can download the cute kitty from Free PrettyThings for You HERE.
I also made a cute card with the kitten, same basic design,though a little larger:
And I wanted to share my mom's crocheted baby pinafore with you.
Isn't it sweet? You can see it also had a headband (it's clipped to the dress). My mom has been crocheting baby blankets and beanies for the children's hospital. I think this little pinafore would go beautifully with my little deer ensemble from this post.
Hope everything is going your way!
Father's Day is about a week away. It seems like we only all get together to celebrate Thanksgiving and Christmas anymore. Does that happen when your children grow up and move away? Luckily (as a lot of you know), I get to have lunch with my mom and dad once a week. I wouldn't trade it for anything. So, when I see Mom and Dad (probably this Friday), we'll have our own little Father's Day celebration. And Daddy, you're getting to see a part of your gift early!
Here are a few links, a how-to, and a printable tag to make easy Father's Day projects.
My daddy and I have always loved chocolate. Chocolate cake, brownies, chocolate chip cookies - I'm going to have to stop there or I'm going to run down to the kitchen and start baking! And of course, chocolate candy bars - no baking involved - just a little wrapping...
This is as easy as:
I have much better luck by using the actual candy bar as a guide instead of measuring. After making the first score right at the edge of the candy bar, stand the candy bar on edge and line it up with a score line. For this candy bar that was 1/4".
Then do the exact same thing on the other side and repeat the same scores with the band. A little washi tape to finish off and you're almost done. Download the tag below - I printed the one for this wrap at about 2 1/2" and used a 2 3/4" circle die to cut it out.
I love this paper! I love the graphic design and the colors. It is exactly what I wanted for my candy bar wrap. The linen texture in the blue band (which you really can't see in the photo) is extra nice. You can get these papers at MAISHOP Digital Art.
To download the More than Chocolate tag, click HERE.
How about a couple more easy ideas:
The chalkboard card is from Scootapie and the little boy and girl are from Nomagraphic Design. I simply added twine and hearts. And popped the boy and girl on top of a blue card base. These are awesome enough for any dad!
This time my give away has to do with the new Stampin' Up catalog ! My first order from the catalog is on its way to me. Can't wait to get all the goodies!
1. Click HERE to see the catalog online in PDF form. Have a piece of paper handy to write down the item numbers you would like to order.
2. Be sure to enter my Stampin' Up online store to order. When you enter your information, Stampin' Up will send me your email address and order. I will email you to let you know that I got the order and your name has been entered in the give away.
3. Order a minimum of $20.00 between now and Wednesday, June 11, 2014 by 11:59 p.m. and your name will go in the drawing for the following give away:
The give away includes Banner Blast Stamp Set, Banner Punch, and set of 5 Stampin' Write markers. The winner will be announced on Thursday, June 12th.
Have a fantastic week!
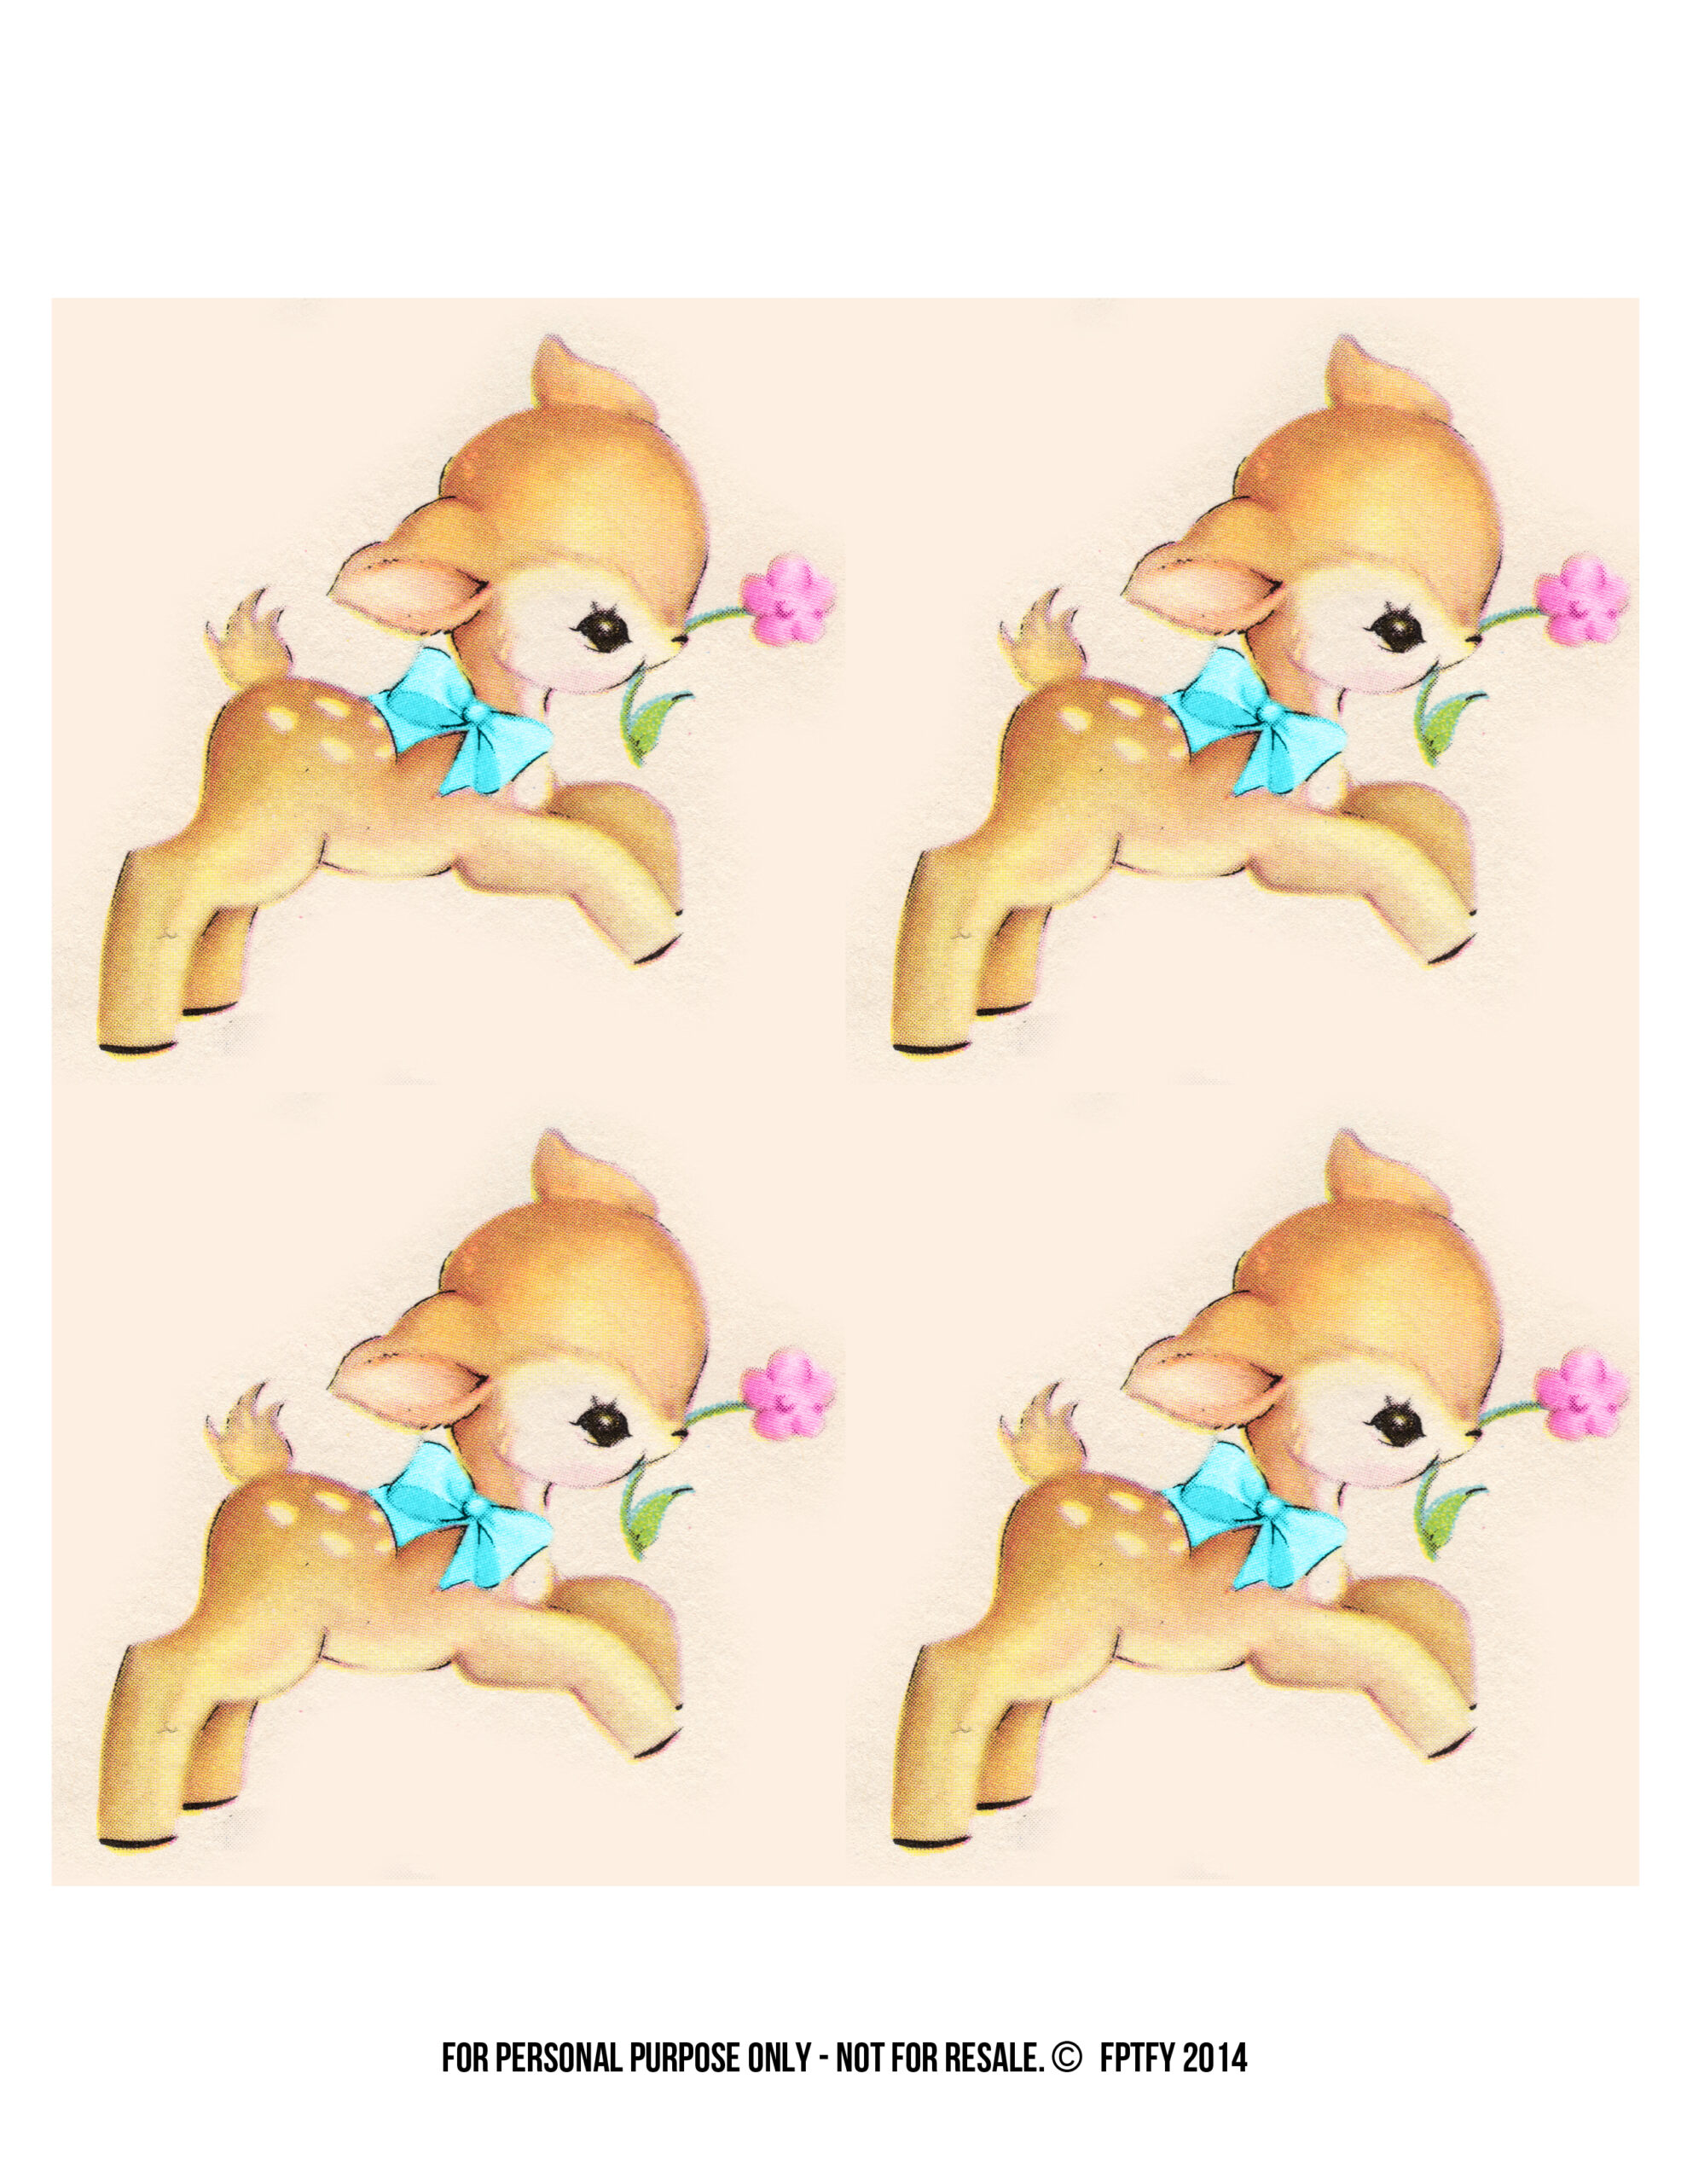
When Keren (Free Pretty Things for You) sent me the new Baby Deer image, I couldn't wait to get started on something cute. I may have even squealed a little bit, too!
I'm sure you see why! First I made a card...
and then a sweet felt book and then the next thing I knew I was sewing up baby booties!
And I don't even have a baby to give them to! (Oh, wait...maybe I do...my friend, Kirby, just became a grandpa of a little baby girl named Harper - she just might need this sweet ensemble.) Below, I've got instructions on how to make the little felt book, links and tips for the baby booties, and a link to the free Baby Deer image.
I chose to make my set for a girl, but it would certainly work for a boy as well.
This felt book is so sweet and really easy to make. I think it is perfect for small pictures and journaling notes. (I printed the deer on canvas - it has a nice fabric feel.) Here's how to make a little bound felt book.
Cut your felt. The finished size of my book is about 3 3/8 x 3 1/2". For this size book, cut the cover felt to 3 1/2" x 6 3/4" and the inside pages to 3 1/4 x 5 1/2". I cut two pink strips for a total of 8 pages. I think it could easily hold one more strip for a total of 12 pages.
When you fold all the pieces in half, you might need to do a tiny bit of trimming to get it all evened out. Then I clamped mine together so everything stayed in place. Use a ruler to make tiny dots (I used an erasable fabric pencil) every 1/2". Sew a running stitch forward. I used all six strands of embroidery floss. If you want a 'tail' like mine, leave about 4 inches to work with. You can see it at the top of the second photo.
When you get to the top, you will go around the top of the book and come back up through the back. As you come back down with the running stitch also stitch the sides going around the spine of the book. Keep the embroidery floss pulled taught. At the bottom, you will tie the two pieces of embroidery floss together.
That's a picture of Lauren on the day she was born! I sewed on the button embellishment - not going all the way through the felt - didn't want the knot to show on the back. I used just a tiny bit of glue behind the photo and slipped it under the felt button. The same thing would work for journaling spots. The button dies are from Papertrey Ink.
For the baby booties, I used Papertrey Ink's new Baby Booties dies. They worked really well and were really pretty easy to put together. A couple of tips: You want to be sure that you can see all the sewing holes, so be sure to take time to get all the little holes open. Also, I found it much easier to leave the holes on the very bottom of the back pieces open and sew them when I sewed on the bottom of the bootie. Papertrey Ink has great videos showing how to make the booties.
I made a box with a clear lid for the book and booties.
To download the free baby deer image with the blue bow, click HERE. Be sure to visit Free Pretty Things for You to download the free baby deer image with the pink bow. While you're there, check out all the other adorable free images!
Happy Friday and Happy Weekend, too!


