Showing posts with label distress ink. Show all posts

Sunday, September 22, 2019

Fun Halloween Background + Video


Halloween!  What fond memories - from my childhood and when Lauren was little we threw the funnest Halloween parties, complete with games and trick or treating.  Last night, Lauren told me that Louisa is going to be a skunk this year.  I'll have to see if I can put together a skunk Halloween card!


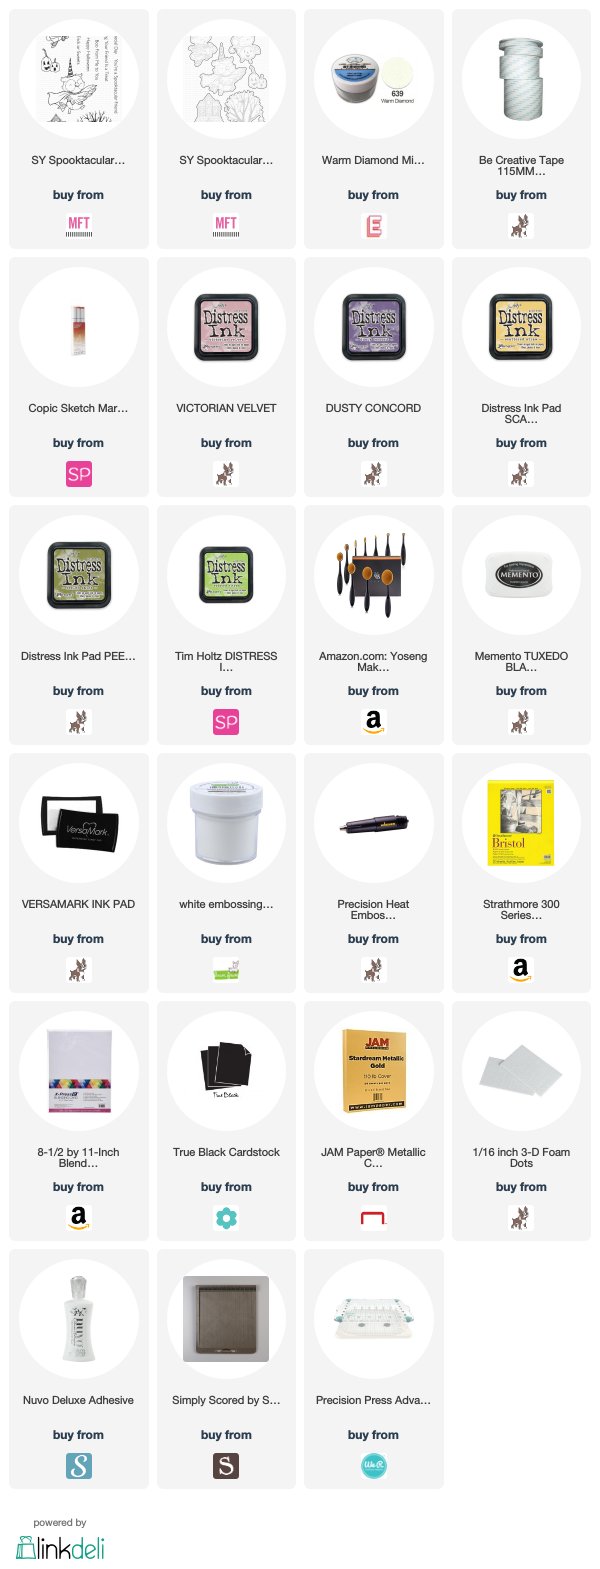
These critters aren't skunks, but they are adorable!  I had a lot of fun coloring them.  The mummy rabbit is so cute!


The background on this card is really cool!  It's basic distress ink blending with a layer of microfine warm highlights glitter on top.  I've got a video showing this technique and a few tips along the way.

Here's the video:


With Lauren getting Louisa's skunk costume from Pottery Barn Kids, I don't have to make a Halloween costume this year.  I wouldn't mind making one, but I'm kind of glad that's one thing to cross off my list.  What are your Halloween plans this year?  

Thank you for stopping by!

Sunday, June 30, 2019

Sweet Dreams Tag Book


Hi, there!  I just had the best week and half!  I'm sure you've already guessed that I had Louisa.  More on that a little later...


I've wanted to make a tag book with sleeping Louisa pictures for a long time.  Speaking of a long time, I started the tags a few weeks ago and just finished them up today.

The tag dies that I used from Pinkfresh Studio are just gorgeous and the little bunnies from Mama Elephant are just adorable.


When Louisa was little bitty, they lived in Denver.  I was flying every other week to Denver.  When it was time for me to go home, they would drive me to Union Station to catch a train to the airport.  Louisa would always fall asleep.  I took many adorable photographs of Louisa as I was getting out of the car.  

In the picture on the right, she's about a year and half.  At that point, they lived in Savannah.  This was the first time, Louisa flew with me to OKC to stay for awhile.  She never slept for long on the plane, but she was so sweet!


This little square tag was made with a slide die from The Stamp Market.


Here's another bunny.  Cute and sweet!


This is the  most recent sleeping picture of Lousa.  Lauren sent it to me a couple of weeks ago.  It's harder to get a picture of her sleeping now.  She only takes one nap and she seems to be sleeping a little lighter during naptime.


While Louisa was here, I took a lot of pictures and made her a tag book to take home and share with Mommy and Daddy.  I never dreamed it would be such a hit.  


The tags were so simple - just cut rectangle cardstock pieces, glued on the picture and wrote a few words.

Louisa absolutely loved going through the book and she could "read" the words, because she knew exactly what she had done.  When we got out of the car to meet her mommy and daddy, she ran to them with the tag book and made them look through it right then!

So glad you stopped by!


Sunday, May 5, 2019

Mini Floral Stamps Ideas #3 + Video


 I've been having fun with my mini floral stamps again.   I finished these up while Louisa was taking her naps last weekend.  

This time I've added distress ink into the mix.  All fun, easy ideas to incorporate into your creations.  You can see the video with tips below.


Talk about getting your money's worth - I've used these butterfly dies a lot!  I love the butterfly covered in flowers with a little milled lavender distress ink blended on the edges.


I heard someone say " Quit using unicorns, already!"  Well, no.  I think this unicorn is adorable and I'm going to continue coloring unicorns as long as I want to!  So there!

Seriously, though.  this is cuteness!  The mini floral stamps in the scallop tag are covered with a light layer of cracked pistachio distress ink.  I really like the flowers showing through, so I used distress ink in lieu of distress oxide.


The unicorn is colored the same colors as the flowers - love the stripes and pink hooves!


This is another stamp that is pure cuteness!  I love the tea theme and those mice are adorable.  You can barely see the distress ink on the teapot and cup.  It's spun sugar and the light pink is really pretty.  

You can probably think of stamps you could decorate with mini flowers.


My favorite mouse is the little one asleep with his little round belly.  

Here is the video:


Thank you for stopping by!  Have a lovely week.


Saturday, January 19, 2019

Vertical Divide Valentine Backgrounds + Video


More Valentine cards!  I'm calling the backgrounds on these Vertical Divide.  Meaning that two (or more) vertical sections of the background are completely different.  Fun and easy background ideas for any cards, not just Valentines.  I've got a video below.


Sugar Bowl Girl is adorable, isn't she?  Her background is about two-thirds plaid and one-third hearts.  I love this plaid stencil - I've found myself using it a lot!

Sugar Bowl Girl is all cleaned up and ready for you to download below.


Cute, cute little bears!  Seriously.  (You can see the video on how to make envelopes like the one above HERE.)  This one is a vertical divide because all the action is on the left and the right side is bare.  (I should have put bear there for a pun!)


The little bears were so much fun to color!  


This card almost didn't make the cut as a Vertical Divide.  When I first started it, the card size was wider and looked more like the right side was blank.  So I'm kind of fudging on this one.  We'll just say that the right fourth of the card is blank!


This is my first foray into Zig Clean Color Real Brush Pens.  I need to practice and experiment, but it was fun to try out something new (to me).  

I found it completely necessary to make color swatches of all the pens.  Once you add water, they look totally different.  You can see the color charts I made in the video.

Here's the video:


Download Sugar Bowl Girl HERE.

As I say in the video, there are at least a million and one ways to create a vertical divide background for cards.  Thank you for letting me share my three cards with you!

Related Posts with Thumbnails