Tuesday, December 2, 2014

Visions of Sugarplums Day Two


So glad you're here for Day Two of Visions of Sugarplums!  I've got a few Christmas goodies to share with you.

First off, I want to share a couple of things I made with images from Moonlighting by Mary.  Mary has been so generous over the years to offer Visions of Sugarplums readers the chance to win one of her digital sets every day!  


My good friend, Jean,  asked me to make her sister a set of Christmas cards  and I'm calling them the Red, White and Gold collection.  I used one of Mary's images to create the first one of the set.  Hard to see in the photo, but I started by embossing the background.


This beautiful image is a vintage postcard.  You can find her HERE in Mary's store. I cut out the pretty little girl and cut out the sentiment to use separately.


Next up is a banner.  Mary has done all the hard work. 


Look at the gorgeous pennants!  All you have to do is print them out.  You can find it HERE. The set also comes with very pretty angels.


I added some glitter around the letters and die cut vellum into a scallop for the tops.   Hard to see the glitter in these photos, but I love this!  I have to say pink and aqua is one of my favorite combinations.

Someone who is new to Visions of Sugarplums is Heather from Vintage Bella.  She has some cute and sweet vintage images. I especially love her art deco images.  It's always fun to visit her store!


I used one of her Santa images to create a Christmas countdown.  Now, I've done some complicated countdowns.  I wanted this one to be EASY!  I wanted it to be able to hold a small treat or note, but I did not want to  make 24 different boxes.  So I came up with one fun box and changing out the numbers on the box.  And I've made it even easier by creating the countdown numbers for you.


First, print out the free countdown downloads:     HERE, HERE and HERE.   Cut them into 2" squares.  Make them look even more chalkboard-y by smudging white ink on them.  I just use my fingers!


Next print out your image.  This Santa is part of the 1940s Santas set.  I made him a little more fun with a little Snow-Tex and glitter.  Let the Snow-Tex dry awhile before covering with glue and glitter. 


The box is called Cutesy Cover and it's a free download right HERE.  It's available for handcutting in a PDF or electronic cut files.

Now you need a way to store the numbers, so they're not just loose floating around.  Tie a bow around the box.  Pop the numbers in a bag and clip them to the ribbon.


Change the numbers on the front the same way:  with a clothespin!   Isn't that great?  A countdown and only one box!  (Or am I just being lazy!?)


Moonlighting by Mary - one digital set of your choice
Vintage Bella - two digital sets of your choice
Kitty Bee Designs - one digital image of your choice
Studio Shine Vintage - one digital image of your choice
Cameo Shoppe - Christmas Cherub Tags

These are some of my favorite shops!  A big thank you to them for all the goodies!

In your comment, please let me know that you would like to win.  Comment here and then comment on all the participating blogs listed below.  Your name will go in a hat (or basket or bowl) for your comment here.  You will also get your name put in additional times for each comment left on the other blogs.  When the prizes for one day are won, those names are taken out, but all the other names stay in the hat.  

Be sure to check back daily to see if you have won!

The Mega Giveaway grows every day and the winner will be announced Saturday, December 6th.  Everything shown in this section every day will be a part of the Mega Giveaway.  Here is the second picture:


Debbie Fisher:  Kitty Bee and my Mini GiveAway
Tanya:  Cameo Shoppe
Karon:  The Cutting Cafe
KT Fit Kitty:  Studio ShineVintage
Carol Froelich:  Moonlighting by Mary

If you've won a Vision of Sugarplums giveaway, please email me at lhairston@cox.net. I'll get back with you and let you know how to claim your prize. Thank you!

Even if you won today, you can still win again!  Debbie has won two prizes already!  (I had a couple of people email me that they couldn't leave a comment, I added their names to the hat.  If you have that problem, feel free to email me and I'll add you to the drawing.)

  Char
  Maria

Can't wait to see what awesomeness they have in store for us!  Did you see yesterday's inspiration?  WOW!  


Come back tomorrow for Day Three of Visions of Sugarplums!


Monday, December 1, 2014

Visions of Sugarplums 2014 Day One


It's Visions of Sugarplums time!  So glad you're here!  Visions of Sugarplums comes from, of course, Clement Clarke Moore's A Visit from St. Nicholas (or The Night Before Christmas).  It's always been a favorite and when Lauren was little, we always read it before putting out Santa's cookies and milk. 

Visions of Sugarplums brings to mind all kinds of goodies that only come around once a year.  I can't believe this is the 4th annual Visions of Sugarplums.  Time sure flies when you're having fun!    Part of the fun is visiting all the blogs and all the giveaways.  More about that later.  Let's get right to the projects.  Today I've got a couple of cute treat packages and one fun ornament featuring Free Pretty Things for You and The Cutting Cafe.


To kick things off, I've got a couple of sweet projects with a darling vintage Christmas image that Keren from Free Pretty Things for You and I are sharing with you.  Above I've used a gusseted pocket (that I really like) and you can see the measurements and instructions HERE.   The paper for this pocket is from Digital Work.  She is offering Visions of Sugarplums readers a 50% discount at her store.  Use code:  HOLIDAY50.  The discount is good through December 31st.  Thank you so much, Leska!


We also have the kids available with a snowflake background and I used it to make a dome shaker ornament.

It's quick and easy to put together.  Here's how:


I printed the image (on sturdy 110lb paper) so the circle would match the size of the dome (half an ornament).  Then I cut it with a scallop circle die.  I wanted the background to be glittery so I painted glue around the kids and sprinkled on the glitter.


Next, the I adhered the flag on the image making sure it was inside where the dome would 
need to sit.  The shaker goodies are a combination of snowflake and tree sequins, glitter and mica flakes.  I just piled it in the middle so it would also be out of the way.  I used Aleene's glue to secure the dome to the image.


Lastly I wrapped twine around the dome (used Aleene's for that too).  It is so cute - love those sweet kids bringing home their tree.  You can download both versions for free below.


ETA:  The link has changed as of 1-15-17.  Download the kids with blue circle background and kids only HERE.

Dropbox works seems to work differently for different people.  When image appears, click download button in top right corner.  If download button does not appear. right click on image and save as.  If neither method works, email me and I'll be happy to send you the image. 


I love PUTZ houses and have a couple of vintage ones.  I used them as my inspiration to make my pink and mint green Putz-like house.  I didn't want just a house though, I wanted a treat holder too. I used the 3D House from The Cutting Cafe.   Regina has taken part in Visions of Sugarplums from the beginning.  Be sure to check out the huge collection of cut files at The Cutting Cafe. Thank  you for your generosity, Regina!


I used the small house size (the files come in electronic cut file and pdf as well).  I die cut a star in the gable (one of my Putz houses has a star cut out).  Here you can see the side pieces already glued to the back.


Next I assembled the house and roof.  See notes on roof below.  


I wanted the roof to come off easily.  So I added a score on the opposite end of the roof exactly the same as the score on the left side.  I also added some scallops.  I covered the whole thing with a rectangle that is an 1 1/4" longer and 1/2" wider than the roof.   The tabs go down in the house.  

I had a white tree, but not a pink tree.  I wanted a pink tree.  So I remembered this tinsel glitter that  I have.  I wasn't sure it would work, but it made a really pretty pink tree!  I covered the tree in Elmer's and then sprinkled on the glitter.  Pretty in Pink!


I covered the whole entire thing in course glitter. 


Here you can see the lid off and candy inside.


Moonlighting by Mary - one digital set of your choice
Studio Shine Vintage - one digital set of your choice
Kitty Bee Designs - one digital design of your choice
Cameo Shoppe - 4X4 Christmas Cards
The Cutting Cafe -  3 sets of choice + 3D House

These are some of my favorite shops!  Thank you so much to all of them for participating in Visions of Sugarplums!

Lori's Day One Mini Giveaway:


Winners of these giveaways will be announced tomorrow.


In your comment, please let me know that you would like to win.  Comment here and then comment on all the participating blogs listed below.  Your name will go in a hat (or basket or bowl) for your comment here.  You will also get your name put in additional times for each comment left on the other blogs.  When the prizes for one day are won, those names are taken out, but all the other names stay in the hat.  

Be sure to check back daily to see if you have won!


The Mega Giveaway grows every day and the winner will be announced Saturday, December 6th.  Everything shown in this section every day will be a part of the Mega Giveaway.  Here is the first picture:


   Char
   Lisa
   Ira
   Sandy
   Regina

Have fun visiting these lovely ladies' blogs!  And a big thank you to them for participating in Visions of Sugarplums!

Come back tomorrow for lots more 
Visions of Sugarplums!


Thursday, November 20, 2014

Super Easy Kids' Table Treat

I love Thanksgiving! I think it's having everyone over, the tradition and all the wonderful food.  Plus I LOVE pecan pie and Thanksgiving is about the only time I have it.  I have to confess that I love our pecan pie way more than any other I've ever had.  I don't know if it's the recipe we start with or if it's the secret ingredient:  a little bit of Griffin's Pancake Syrup.  Oops!  So it's not so secret now!  I don't know why, but it makes a huge difference!


My friend, Jean, and I were talking about a treat for kids at Thanksgiving.   She had an idea to fill some candy tubes with Tootsie Rolls and needed a turkey for the decoration.    I remembered this so cute turkey!   It's from Springhill Graphics.  I have some tubes left over from Halloween, but no Tootsie Rolls.  I used caramels instead.  Won't these look cute on a kids' table?


I printed the turkey and sentiment on 80 lb. paper.  Cut out the turkey (or use the print and cut feature on an electronic cutter) and leave a little blank space on each end of the words.


Cut the right end of the sentiment into a flag.  Use a bone folder or pencil to curve both ends of the sentiment.  That way it will be super easy to wrap around the tube.  Glue dots work great with the candy tube.


Use glue dots to adhere the turkey in place first.   I think the "Gobble Gobble Gobble" wrapped around the tube is kind of fun!  Let the sentiment wrap around the tube.  Start with the left end of the sentiment - add a glue dot on the edge and press it to the candy tube.  Add one more glue dot in the back and a third on the front under the start of the last "gobble."  

You might have to make candy tubes for the adults, too!  Or maybe, they won't mind if they get pecan pie...


Friday, November 14, 2014

Be Unique (String Tie Envelope w/ Alternate Ties)

My daughter and I have talked often over the years about being unique and being authentic.  I've always wanted Lauren to be comfortable just being her.   Sometimes it's hard in this world where we are pressured to conform.  


Lauren and I are hard on ourselves.  As I've gotten older, I have an easier time letting the perfect go.  I still have to remind myself sometimes that "as good as I can do it" is perfectly fine!  That's one of the reasons I LOVE this sentiment.  


And look at this darling Flamingo!  Cute, right?  The stamps and dies are from Reverse Confetti.

I love string tie envelopes, but sometimes I just don't want to set eyelets.  So I've got an alternative way to do the ties that I pretty much use all the time.


I use circles and pop dots.  Just cut four circles (larger than your pop dot).  The twine will be glued under only one of the dots.  Don't cut the twine yet!


I like the twine to start on the top dot.  It's important that the twine be pointing down toward where it will wrap.  Glue the pop dots on top of the circles.


Finish off with the other two pop dots.  I put a little dot of glue on the top and bottom of the pop dot - just to give a little more stick-to-it-ness. Wrap the twine around the pop dots and when you know for sure how much you need, then you can cut the twine.  That way you ensure that you always have enough!

I promise the twine doesn't stick to the pop dots - or at least it hasn't so far!  It works really well.  

Here are the measurements and instructions for this size envelope:


Cut your paper to 6 1/4 x 7 3/8".  I printed my paper double sided on 80lb paper.  This pretty paper is from Grepic and is included in a set called Cupcakes.  

Cut off the tabs you've created with the 3/4" scores above and below the horizontal score lines.  You will have tabs on just the middle section.

Then as you can see one picture up, I used a decorative edge die on the top portion.  Fold up the bottom and adhere to the tabs.  


So what do you think about uniqueness?  Wouldn't it be lovely if we could all live with this philosophy?

Hope your day is as fabulous as you are!

Don't forget to mark you calendar for Visions of Sugarplums!


Friday, November 7, 2014

Gusseted Treat Pocket


Sometimes you just need a quick little pocket to pop in a few goodies.  Right?  This gusseted pocket is perfect!  And you can whip it up in about 6 minutes.  (Okay, the tag might take a little longer, but I'm talking about the pocket!)


This perfect little pocket is easy!  I started by printing a polka dot paper in a lovely color onto 28 lb. copy paper. It's a little heavier and slicker than normal copy paper and I love it for little bags and pockets.  The digital paper is from Grepic and is part of a polka dot paper set that comes in lovely colors.  Go take a look - you'll love how pretty they are!


Cut the paper to 7 1/4" x 10 3/4".  Turn horizontal and score at 4 1/4"


Turn paper vertically and score.


Gusset will be on the back layer.  Cut off 1 1/2" on each side down to the 4 1/4" score.


If you want to do some fancy stuff, do it now!  I die cut a fancy edge on the top and cut a window in the front.  The border die is from Papertrey Ink and the scallop die is from Reverse Confetti.

Fold the gussets:  


No, it's not your imagination - that is different paper.  This is a photo from my gusseted bag 
post.  The gussets are folded exactly the same way.


I glued in a piece of vellum to cover the window, folded the pocket on the 4 1/4" score and glued the front to the gussets.  Using the back as a guide, I folded the top over the back.


Popped in some chocolates next and clipped on a cute tag.  Now I'm thinking about different colors...

It's almost time for Visions of Sugarplums! 


Can you believe this is the 4th Annual Visions of Sugarplums?  Join us for Christmas ideas, freebies, recipes and giveaways all five days.  Mark your calendar and I'll see you here!

Monday, November 3, 2014

Thankful for Whooo?

Hi, there!  Hope you had a fun Halloween!  It was unusually quiet around our neighborhood this year.  Did you have a lot of trick or treaters?

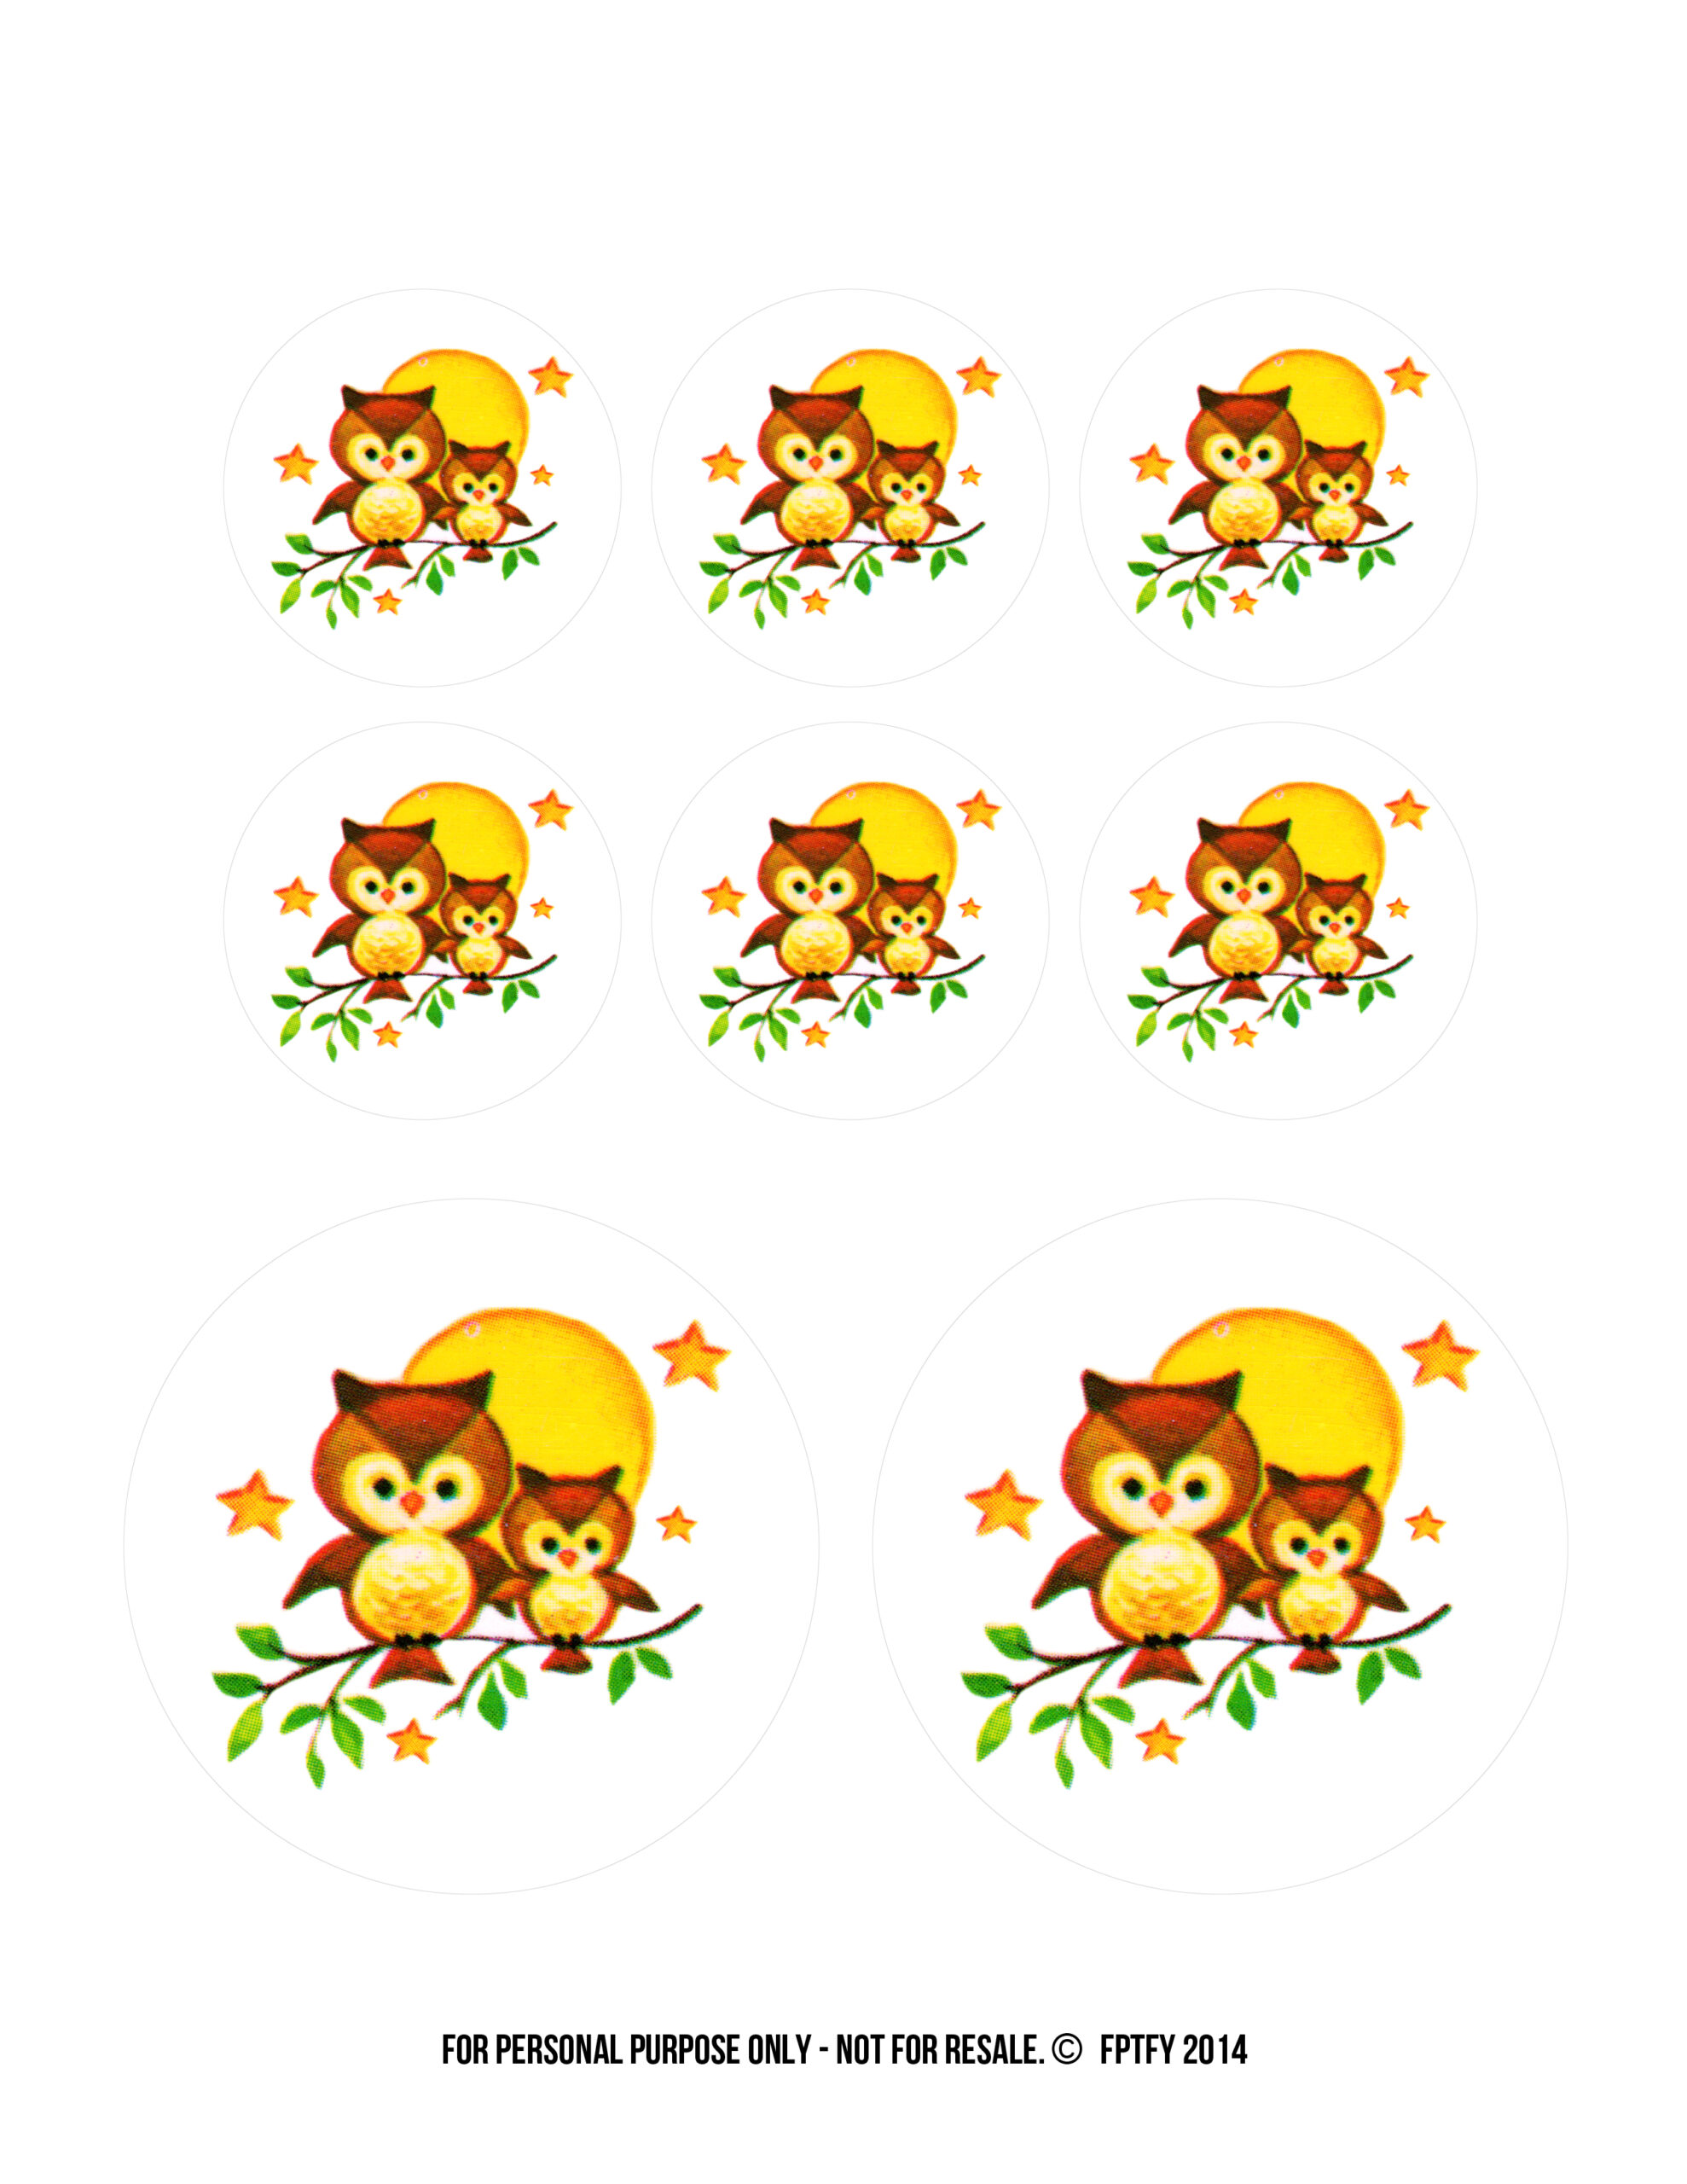
Keren, from Free Pretty Things for You and I are bringing you the cutest Mama (or maybe, it's Dad) and baby owl image today!   


The owls look rather fall-ish, so I decided a thankful card would be a great match.  I printed them on a linen finish and sewed the scallop circle and ribbon right to the card.


The owls are so darn cute, I couldn't stop at just a card.  I made a tag for an orange gingham bag, too.


Every time I look at these sweet owls, I just smile!  I had picked up these gingham bags quite some time ago and had practically forgotten that I had them.  Luckily, I came across them while I was looking for something else.  Do you ever do that or am I the extremely disorganized one?  

(These projects were Choux Box Kits.  I have a couple of orange gingham bags left, so if you're interested in a Choux Box Kit let me know and I'll send you  the details.)


As always, Keren and I offer cute images for free!   Click HERE for a download of these cutie owls in a 2" and 3.5" circles.  To get a large download, visit Free Pretty Things for You.

So glad you stopped by.  Have a lovely week!


Related Posts with Thumbnails