Okay, I know foxes are everywhere! But do you have them in your back yard? One of the owners of our company has a mama fox and babies in his backyard. Isn't that the coolest? The closest we've had is possums. And I do mean close. Babies... six baby possums...in our wall. Yes, you read that right - in our wall! I have to say baby possums are actually very cute! It took about a week, but I caught all but one and we relocated them to a wooded area. At least they've got a chance... and we haven't heard the other one in over two weeks. Hopefully, he left!
Anyway, back to foxes. You all know that I love the bins at Michaels. I often find goodies there. You might remember this cute fox stamp plucked from the Michaels' bins.
When I made my weekly trip to Michaels, I came across matching fox notecards! Couldn't resist. I turned the notecards into treat pockets!
So easy or maybe I should say sew easy! I'm going to keep an eye out for more shaped cards to try this on.
Once I got it sewed - all the way around - except for the top, I added a plaid bow and goodies!
Have you seen mint M&Ms? I picked up a small package to fill the candy tube. Dennis finished them off and I think he must have really liked them, because when he came back from the store today, he had a big bag!
They are so pretty - three different shades of green. Perfect size and color for the candy tube!
Would you like to make a fox treat pocket? I've got a very limited number of kits in my etsy store. You get everything you need (except candy, thread and adhesive) If you don't have a sewing machine, I can sew the pocket for you. Check out the Fox Treat Pocket here.
So glad you stopped by!

It's that time of year! Do you need some quick and easy - but oh, so cool graduation cards? I found some great instant downloads on etsy.
This cute one is for my little cousin who is graduating from Kindergarten. The image is from Cocoa Mint and is part of a clip art set (Little Grads) I printed the pink owl card size and then added my own words. Quick, easy and cute! She'll love that it has her name on it!
My nephew is graduating from high school tomorrow night. I made this card from one of the images from a set of Graduation Journal Cards from Plucky Lime Designs. I love that this is great for a guy and just a little funny. Here is another one of the journal cards:
I added Hayden's name and glued it inside. How about one more?
This one is for a cousin that is also graduating from high school this year. Don't you love the gray and mustard yellow? Again, I was so excited to find a great image for a guy. This is from Pixel Vectors.
I printed all of these on 110 lb paper and they look and feel awesome.
If any of these catch your eye, you'll be happy that they are instant download. You can buy, download, and print - maybe all in about 5 minutes!!
Happy Graduations!
I had such a wonderful weekend visiting my daughter in Wichita! I so wish we lived in the same city. I wish she lived next door, although she might like to live a little further away! I promise Lauren - I wouldn't bother you...much...
We had such lovely weather this weekend. Is it time for butterflies yet? I've always been fascinated when they come flitting by. We never have very many around the house, maybe we need to plant different things to attract them. I might not always be able to see butterflies outside, but I can always create with them. I love vintage butterflies. If you like this one, you can dowload it below.
How about quick and easy packaging? This will only take you about 5 minutes, but I think someone would still be impressed with this vivid butterfly! Here are some of the things I used:
I love the pretty kraft treat bag (just one of 4 designs from my store) and the tiny punch (Petite Curly Label Punch).
I stamped it with one of the hearts from the Language of Love stamp set.
No need to glue the doily - just wrap it with washi tape. Be sure to make the washi a little longer than the fold over of the doily on the back - that way it will hold it down.
Another tip: Stick a piece of cardstock inside when you wrap and tie the twine. That way the bag won't bunch and it's easier to make the twine tight.
I also created a card using the same butterfly. You wouldn't think a green butterfly would be that versatile, but amazingly it goes with lots of things! If you would like to download a copy of the butterfly, click HERE.
Have a wonderful week!
Spoiler Alert!! Mom, this reveals part of your Mother's Day! It's okay to look - it just won't be a surprise...
If you remember the Hello Doll post, you know that I made my mom a paper doll dress card for her birthday. I'm continuing the theme here. I soldered a dress charm and antiqued it a little. I wanted it to look kind of worn and old.
And made a little box to store it in.
Isn't that little dress sweet? It is an image from Land of Enchantment.
Here are a couple of Mother's Day cards I made this year:
The Amazing stamp and the die that matches it are from Stampin' Up. The stamp set is Lovely Romance and the framelit dies are Chalktalk
.
This image is Basket of Blessings from Papertrey Ink. I heat embossed it and then watercolored the image.
Have a wonderful weekend and to all the Mom's: Have a happy Mother's Day!
Thank you to everyone who left a comment on the last post - it was so lovely to read all you had to say! Part of the giveaway package from the Hello Doll post includes flair pins (is that redundant?) that I made using the Floral Gingham Circles from Free Pretty Things for You. How about a couple of other ideas on how to use them?
How about the middle of a hodge podge flower?
Doesn't it make a pretty package topper?
And how about a little "sweet nothing"? Sometimes I think we need more "sweet nothings" in our lives.
It has no purpose, except to be sweet and maybe remind the person you give it to of you.
Now to announce the winner of the
Mercedes, email me ( email in side bar) with your info and I'll get your goodies off to you ASAP!
Etsy Store Special:
I have new things in my Etsy store. From now through Saturday, May 10th when you purchase two items I will send you a Surprise Gift Bundle. You have to leave me a note when you purchase that you would like to get a Surprise Gift Bundle. (If you are local, just like always, I am happy to take items out of the shop for you and you can just include in your email that you would like the Surprise Bundle.)
I'm not telling what may be in the Surprise Bundle, but I will send lovely things for you to create with! Each Bundle will be different.
Hope you are all having a lovely week!
My mom loves paper dolls - don't you, Mom? She has very fond memories of playing with them as a kid and she has enjoyed collecting them as an adult. Mom's birthday was in April and I made a special card reminiscent of a paper doll dress for my dad to give to Mom.
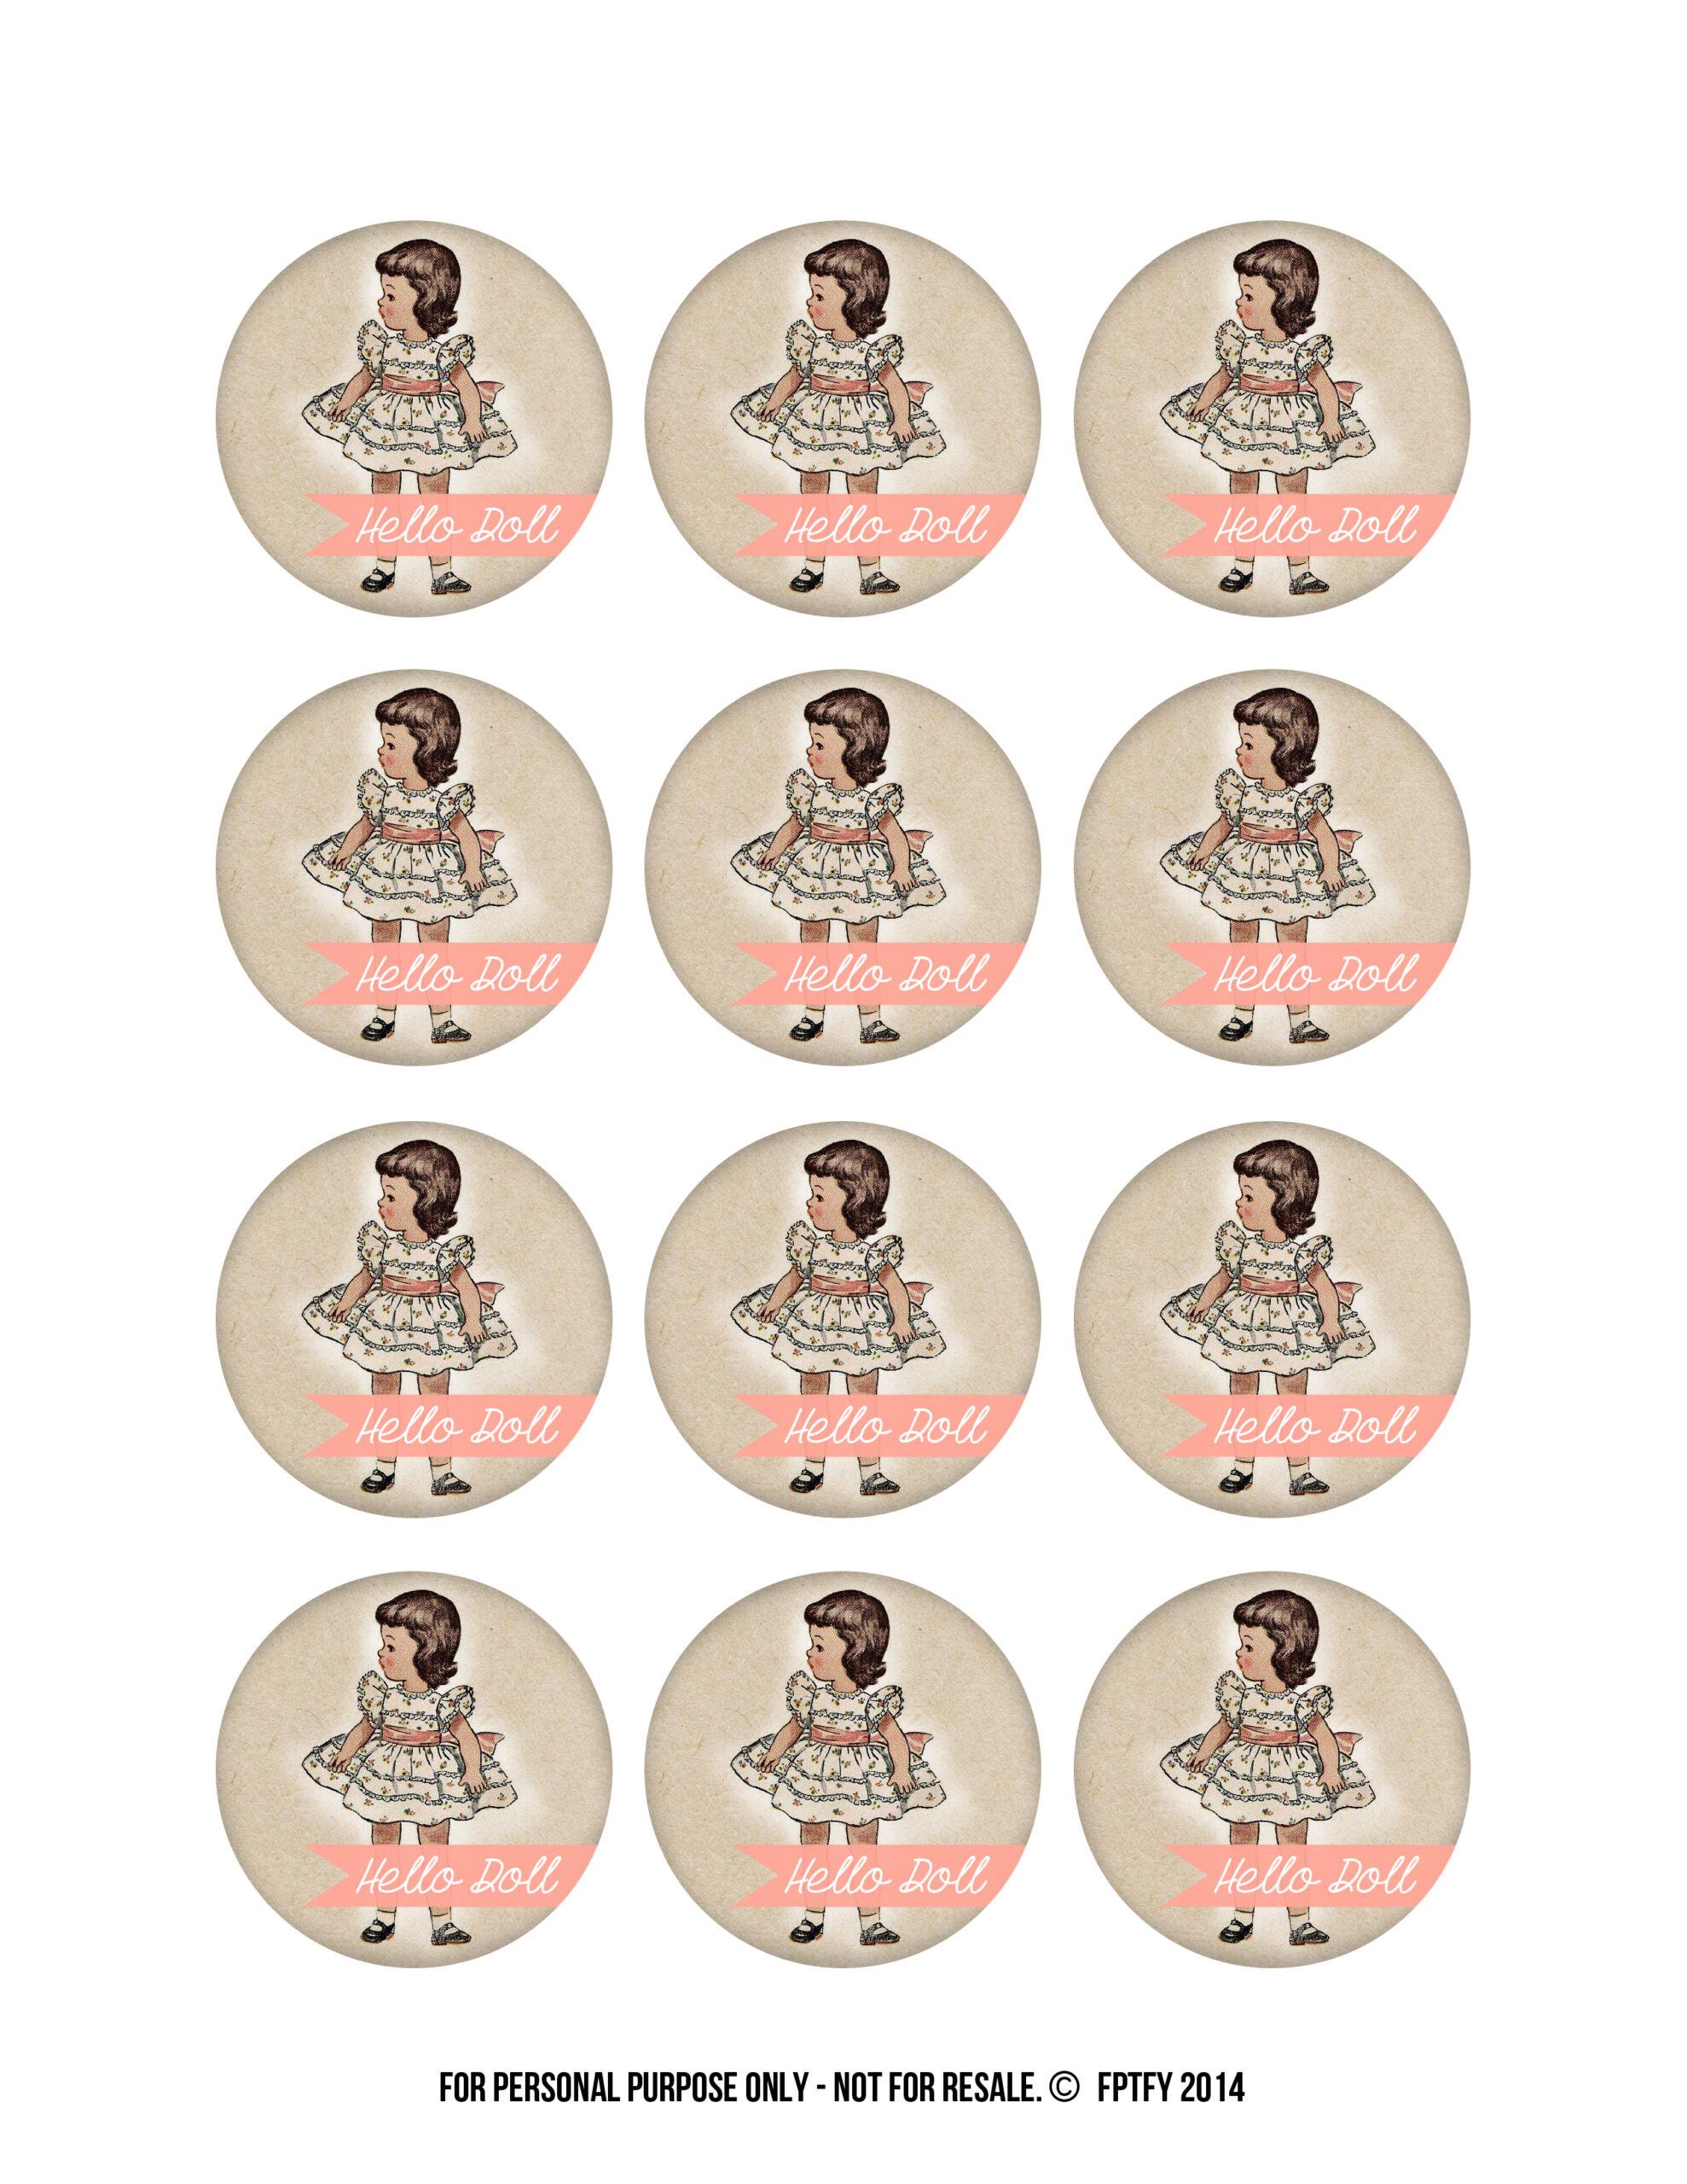
Daddy always asks me to make a card for Mom. He slipped me a note when we had lunch reminding me that he needed one. That same day, Keren from Free Pretty Things For You, sent me these adorable Hello Doll circles. It seemed like a match made in heaven! The dress template is from The Cutting Cafe. Here's a closer look at the Hello Doll image that is free for you:
Isn't she a doll (hah)! There are two versions - one with a pink banner and one with a teal banner. See the download links below.
The vellum butterflies are super easy and oh, so pretty.
Just scribble color on the vellum and punch out. Couldn't be easier! Stack up a couple - they look fluttery and have beautiful soft color.
I found several of these vintage baby hangers at an antique store that we go to in Wichita when we're visiting Lauren. It's hard for me to resist sweet little things like this!
When I finished up the doll dress, I folded up a piece of cardstock and clipped it to the back with the clothespin for Daddy to write a note to Mom. I also embellished an envelope, because with that hanger a closed envelope really wasn't working!
I used one of Keren's other free images - floral gingham circle tags - to make a bit of flair to decorate the front. Isn't it sweet?
Would you like to have the Hello Doll images for your creations? For the pink banner version of Hello Doll, click HERE. For the teal banner version, visit Free Pretty Things for You.
How about a floral flair bundle giveaway featuring all the colors of floral gingham circles at FPTFY? Here is what I'll send one lucky randomly selected commenter:
How do you win? As always, it is easy! Just leave me a comment on this post that you would like to win the Floral Flair Bundle Giveaway. You have until Tuesday, May 6th, 8:00 p.m. (central time) to comment. I'll announce the winner on Wednesday, May 7th. Be sure to check back on Wednesday (especially if you're contact info is hard to find).
Happy Monday!
My friend, Kim, from Altus, Oklahoma (a town my dad grew up in) asked for a circus card for her two year old grandson. I knew I wanted to start with a circus tent, but I also wanted something a little different from the usual. I've already made three of these cards - two more people asked for them when they saw Kim's!
I found these wonderful images at Clip Art Garden. Aren't they fun? I've got to head back and look at all the other goodies - I just didn't have time earlier. I decided on a step card to showcase these fabulous circus animals.
This card was super easy to make. Here's what you need:
You'll need four strips of decorative paper. I love this polka paper it is from White Coffee Designs and is from the Confetti Polka Dot set. One strip is 1 3/4" x 4 3/4" and the other three are 1" x 4 3/4".
Score the cardstock at:
1 1/4 "
2 1/2"
3 3/4"
5"
6 1/4"
7 1/2"
9 1/4"
After you've scored the cardstock, fold it accordion style. The front should fold down.
Now you're ready to decorate!
On this card the bear, elephant and lion are sized at about 3 7/8" tall. The tent is about 4 7/8" tall.
Adhere the polka paper on each section. I used pop dots to adhere the animals to get a little more depth. If you have a cutting machine you can import these images in and it will cut them for you. (If you have a Silhouette and need help on how to do this - email me, I'm happy to help!)
The lion is holding a flaming ring and I die cut a sentiment to fit it. You could personalize it - for example for Kim's grandson I put: Look who's 2!
I adore the sweet details on these animals: like the elephant's nose. This card is perfect for a birthday, It looks cute folded up and also spread out! Let's celebrate!


.jpg)


.jpg)


